How to install or change the Glock Beavertail Backstrap on a Glock 17 Gen 4 or Gen 5 pistol
If you bought a new Glock 17 or other Gen 4 or 5 Glock pistol, you may want to know how to install or how to change a Glock backstrap.
A backstrap is the rear of the grip, and different sized backstraps will increase or decrease the circumference of the grip to better fit your hand and finger length.
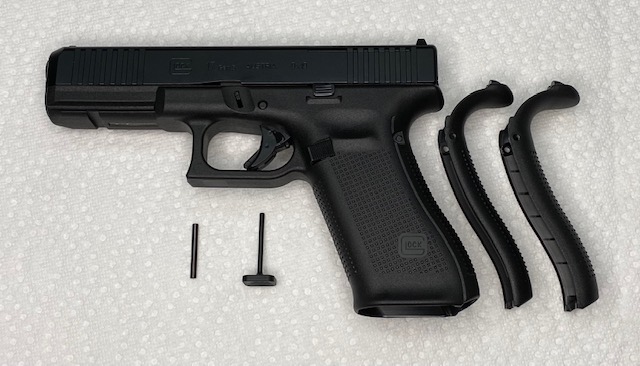
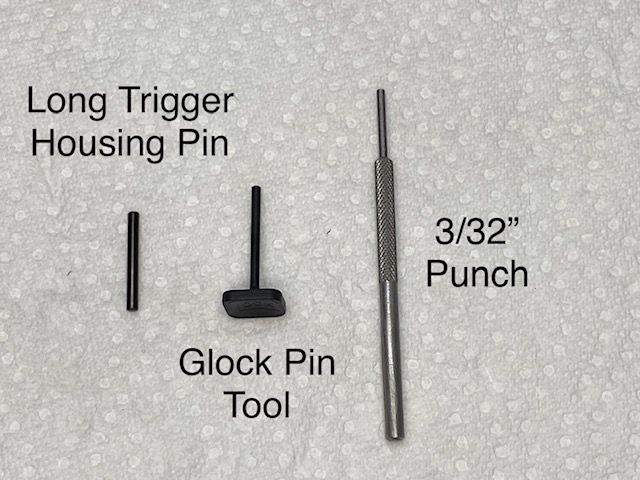
If the Glock is new, it came with 2 Beavertail Backstraps, an install tool and a long trigger housing pin. These parts will enable you to increase the size of the grip to fit your hand. The Glock grip is considered a Short Frame without a backstrap installed.
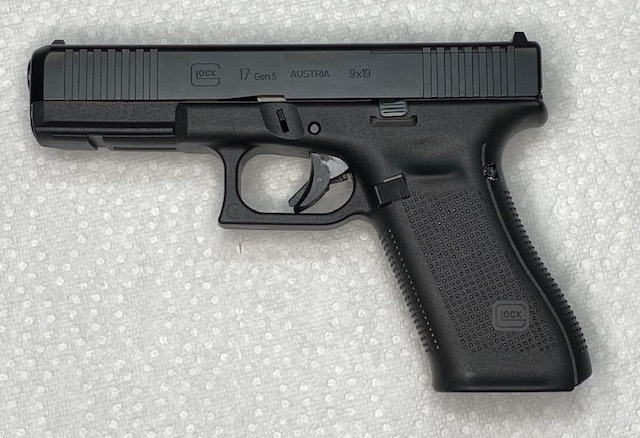
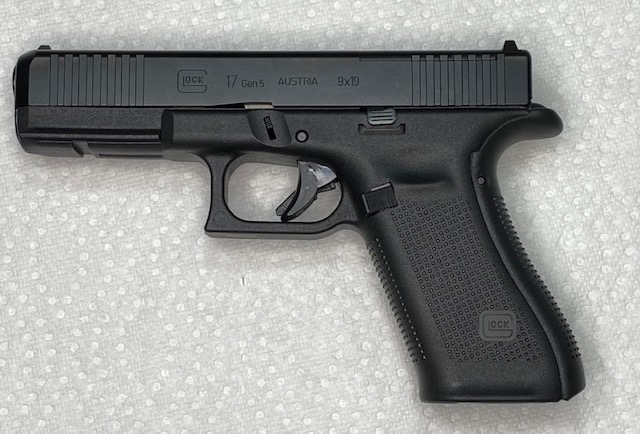
Here are a couple pictures showing the difference the Beavertail Backstrap makes in how your Glock Pistol looks. You can see how the beavertail adds a nice look to the back of the Glock.
Glock With Backstrap vs. Without Backstrap
If you have lost the backstraps for your Glock, you can find them using this link to Midway USA.
My hand is medium size so the Short Frame fits me fine. However, I decided to try the Medium Beavertail Backstrap and I am going to leave it on as it feels more comfortable.
The Glock Medium Frame Backstrap will increase the circumference of the grip by 2mm (.08 in.) and the Glock Large Frame Backstrap will increase it by 4mm (.16 in.).
Both backstraps will add a “Beaver tail” to the back of the gun. This will provide more contact with your firing hand, allowing for better control and stability.
Steps to Install or Change a Glock Backstrap
Fortunately, installing an/or removing a Glock backstrap is relatively easy as you will see in this article. The tool and extra trigger housing pin you will need come with your Glock, but if you have lost them, you can find them here.
**Always Verify your Glock is UNLOADED before you do any of these steps!
You will simply need to push out the trigger housing pin, snap the backstrap into place and re-insert the proper length pin. the pin needed when a backstrap is installed is slightly longer than the pin that comes installed in the gun.
The Glock tool is basically a plastic punch, and you can certainly use a normal steel gun punch to do this, or even a sturdy wooden swab shaft.
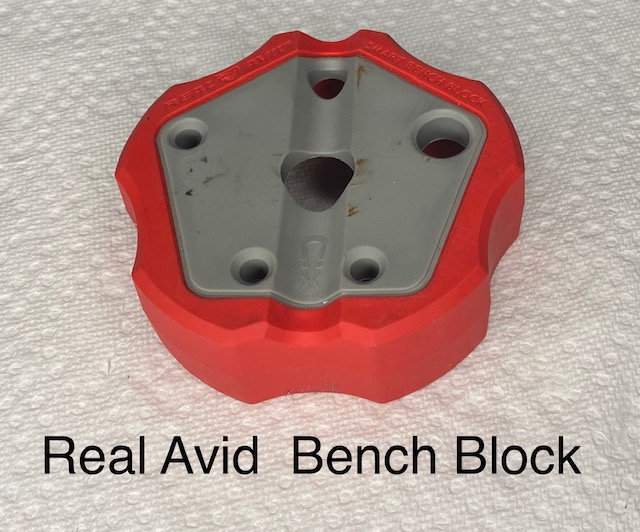
An optional but very useful tool is a Real Avid Bench Block. I use this to help me protect the finish of my firearms anytime I am removing roll pins
Unload and Verify the Glock is Unloaded
Here are the steps in pictures:
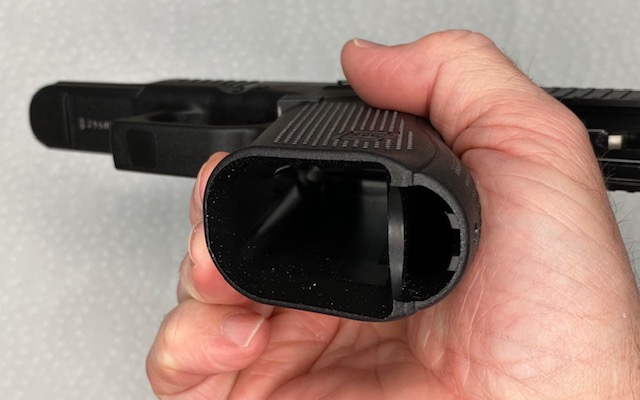
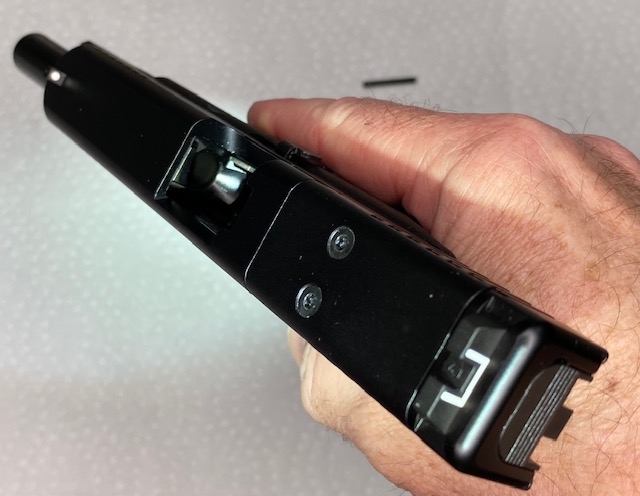
Glock Field Strip
Optional: Remove the slide from the Frame to make it easier and safer to install the Glock Beavertail Backstrap.
How To Field Strip a Glock Pistol
For safety reasons, I typically will field strip the Glock which allows me to work on the grip in complete safety. I like to know with 100% certainty that the gun is not capable of firing and I can move the frame around without concern.
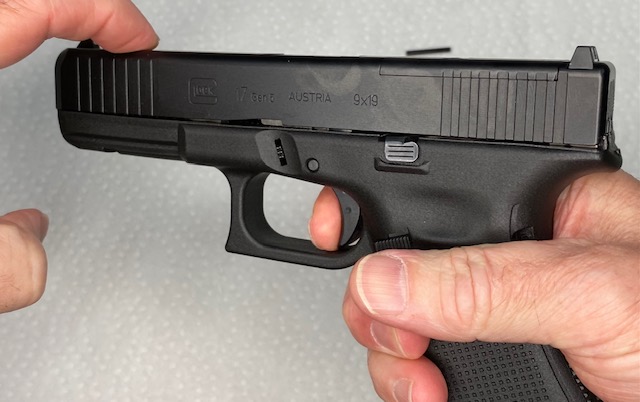
To remove the slide, VERIFY the gun is unloaded, point it in a safe direction and press the trigger. The trigger needs to be in the rear-most position in order to remove the slide.
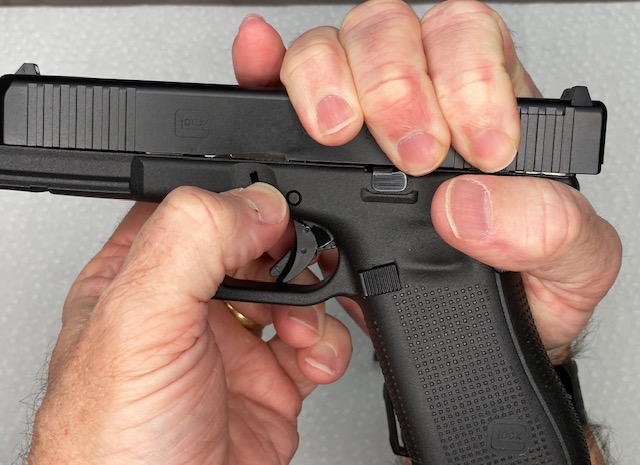
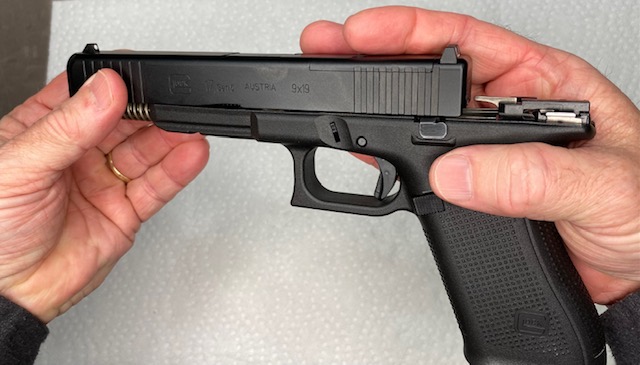
Removal of the Glock Trigger Housing Pin
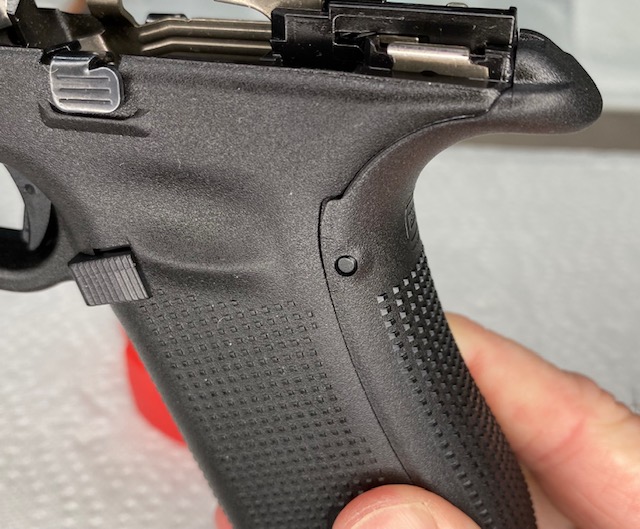
Once the slide is removed from the Glock, we can begin. First locate the trigger housing pin on the back of the grip toward the top.
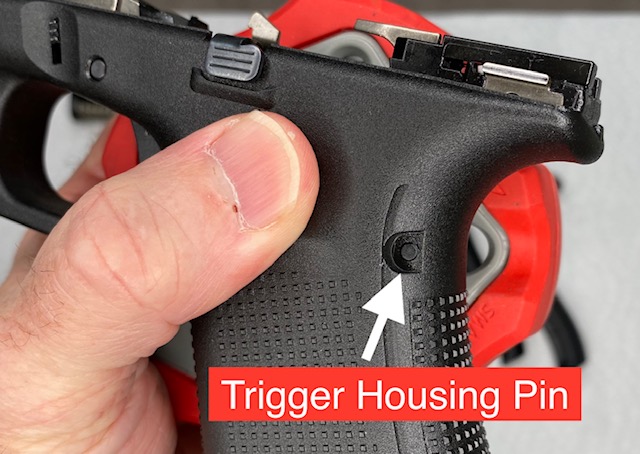
Next we want to place the gun on a sturdy object that will allow the pin to be pushed out the other side. Maybe the edge of a table or block of wood. I use a Real Avid Bench Block to help with pin removals.
Once the grip is supported, use the Glock Pin Tool or a similar diameter gun punch and push the Trigger Housing Pin all the way out.
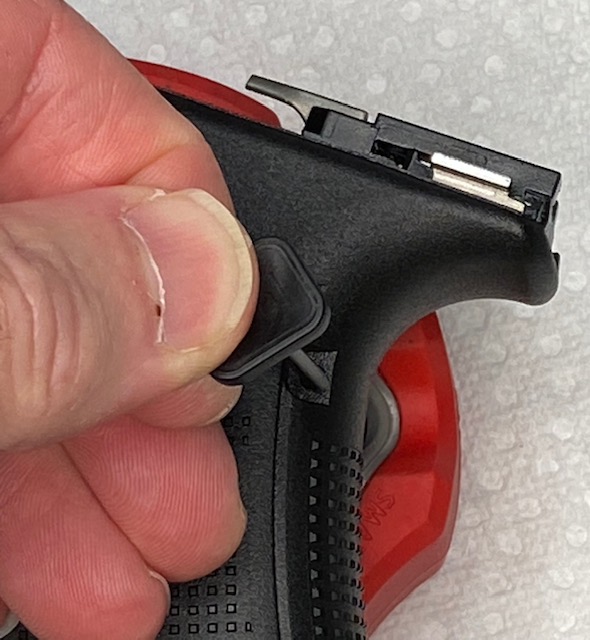
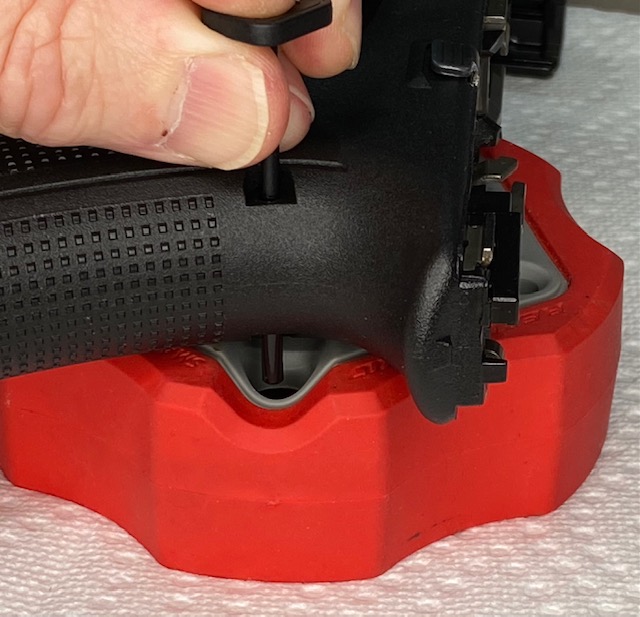
Installing the Glock Beavertail Backstrap
With the pin completely removed, take the Backstrap to be installed and hook it into the bottom of the grip first. Press upwards on the bottom until the bottom of the Backstrap is flush with the bottom of the gun grip.
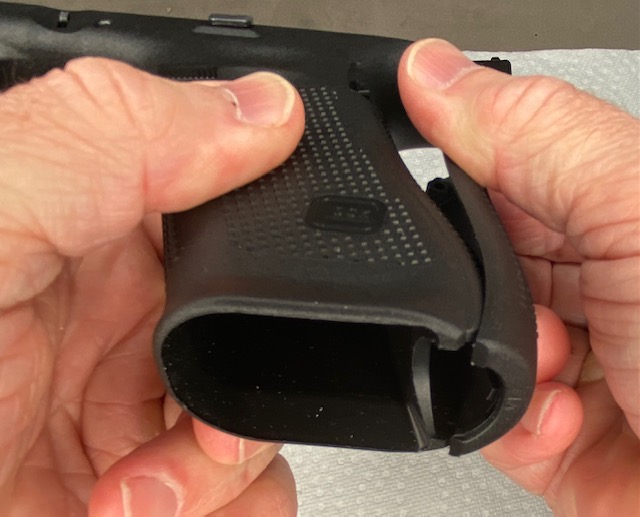
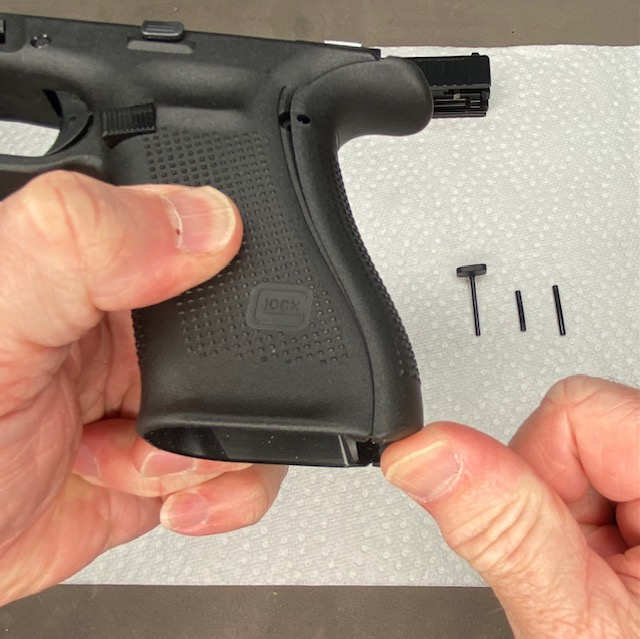
Next, press the Beavertail portion at the top of the Backstrap straight into the back on the frame and it will click into place.
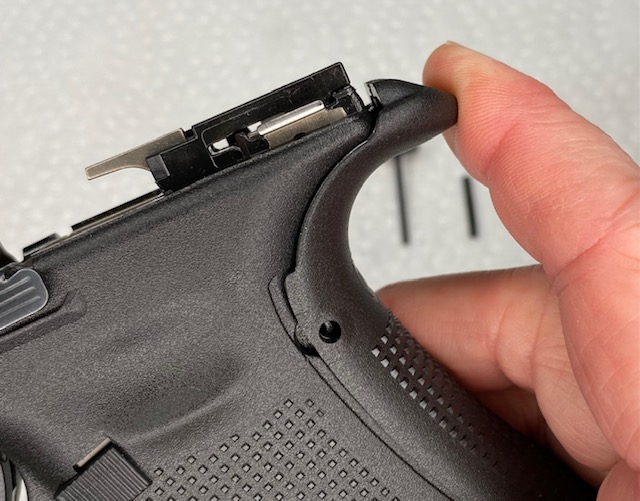
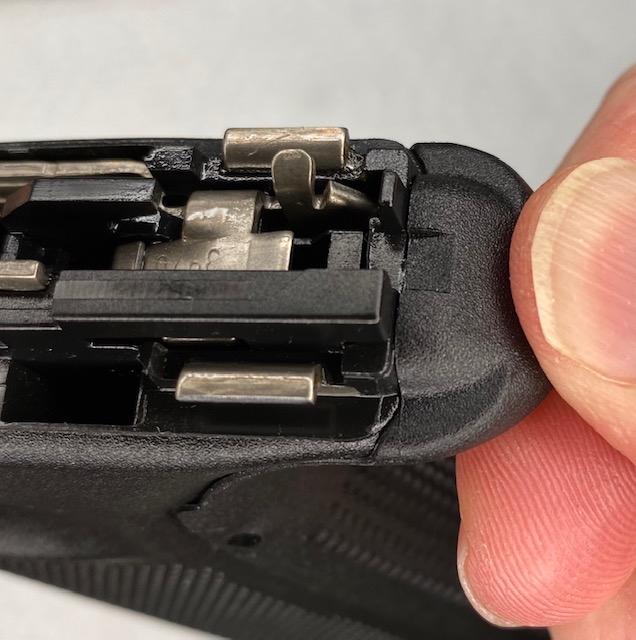
Squeeze the grip where the hole is located for the Trigger Housing Pin to line up the Backstrap holes with the hole in the Glock grip. Try to push the longer Trigger Housing Pin into the hole.
This can be tricky if the fit is tight like mine was. If you cannot push it at least part of the way in, you may need to tap it in with a soft mallet. Be very gentle and patient as the pin is only plastic and easily damaged if you hit it too hard!
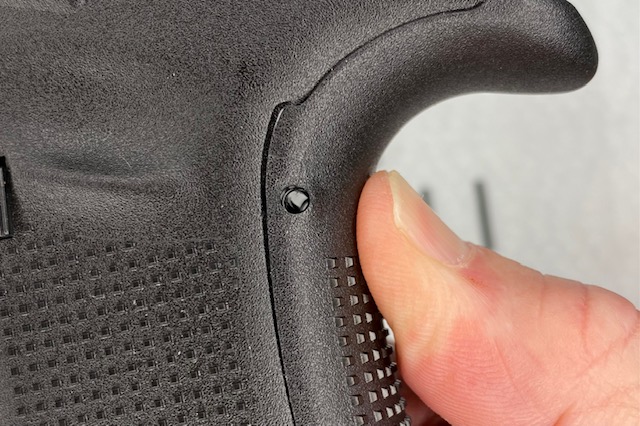
Install the longer Trigger Housing Pin
Due to the backstrap making the grip slightly wider, you must use the longer Trigger Housing Pin to hold the Glock backstrap in place.
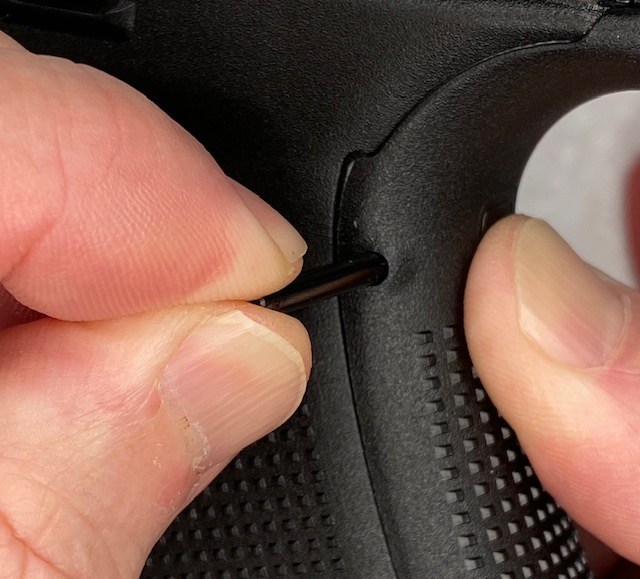
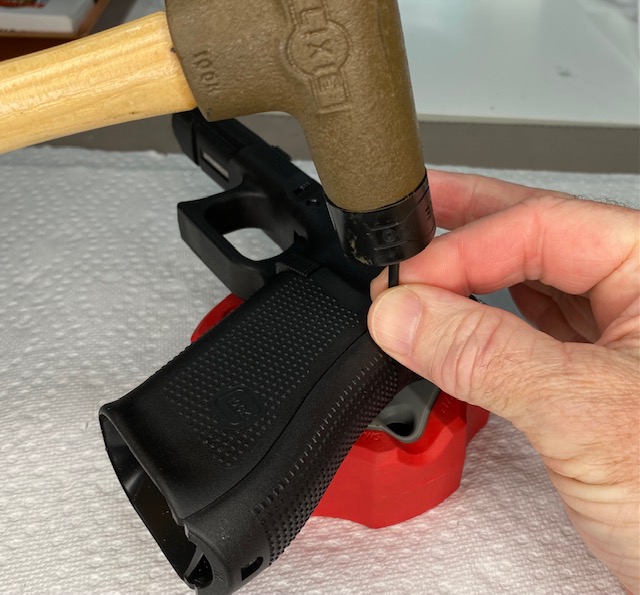
Once the pin is all the way in, check both sides to be sure it is roughly even as far as how deep the end of the pin is located. If it needs adjusting, use the punch or Glock tool to move the pin until it is even.

Video: How to change a Glock Backstrap
Reassemble the slide to the frame. you have now installed the Glock Beavertail Backstrap to your pistol. Try it out at the range and make sure it is comfortable to shoot. If not, you can easily remove the backstrap and try another size or leave it off altogether. Either way just use the instructions and steps in this article to do so.
Also See My article on How To Disassemble & Clean a Glock 17 or any Glock Pistol
