How to Deprime, (Decap) and Resize Brass Casings for Reloading.
In this article, I am going to show you how to resize and de-prime (also known as de-capping) your used brass. I will be using a Single Stage Press made by Lee Precision to de-cap and resize 9mm brass casings for reloading. The Lee De-capping & resizing die will do both at the same time.
___________________________________________
Here is the CALIBER DEBATE VIDEO:
____________________________________________
Removing the primer from a brass casing is a very simple & straight forward process.
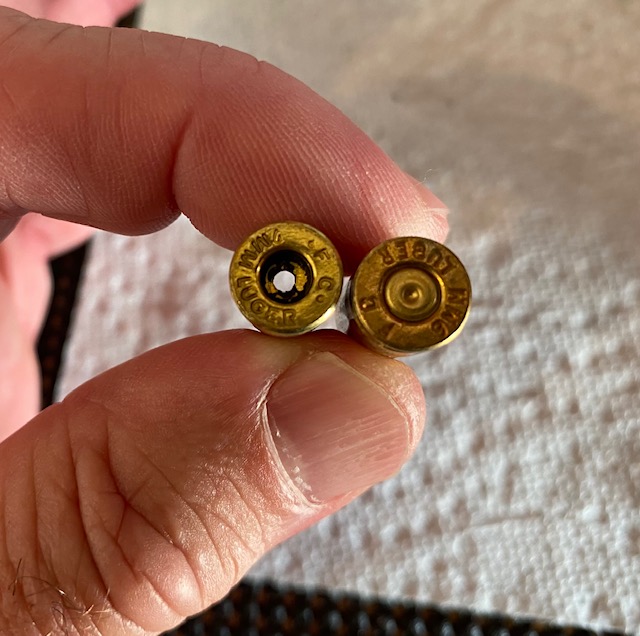
What is depriming?
De-priming your used brass is simply the process of removing the spent primer from the rear of the brass casing. This is in preparation for installing a new primer in order to reload the cartridge with new powder and new bullet. Simply put, you will use a press to push the brass casing into a “die” and a thin metal pin will push on the primer from the inside and it will “pop” out.
What is resizing?
Resizing the brass is the process of forcing the brass into a die to return it to its original diameter. When a cartridge is fired, the pressure of the expanding gunpowder can cause the brass casing to expand slightly. In order to make it work again as a reloaded cartridge, it needs to be returned to its original diameter so that it fits properly into the chamber of the firearm.
The process detailed below performs the de-capping and resizing with one stroke of the press piston.
Tools & Supplies Needed
Here are two excellent books that thoroughly cover the topic of reloading. I own both of these books and recommend them highly:
Lee Precision Modern Reloading Manual
The ABC’s of Reloading
There are several ways to remove the spent primer from a brass casing. In this article I will discuss and show how to use a single stage reloading press to perform this procedure. The press I am using is a Lee Single Stage press and is relatively inexpensive.
This process can also be done on a Lee Progressive Press which performs multiple processes at one time. To use the Single Stage Press Method shown in this article, you will need:
- Single Stage Press
- Decapping & Resizing Die Set (includes Resizing/decapping die) for the Caliber Brass you are using
- Lee Shell Holder (this is included in the die set above)
- Lee Reloading Stand (Optional but super handy. You can also bolt the press to a workbench.)
Single Stage Press
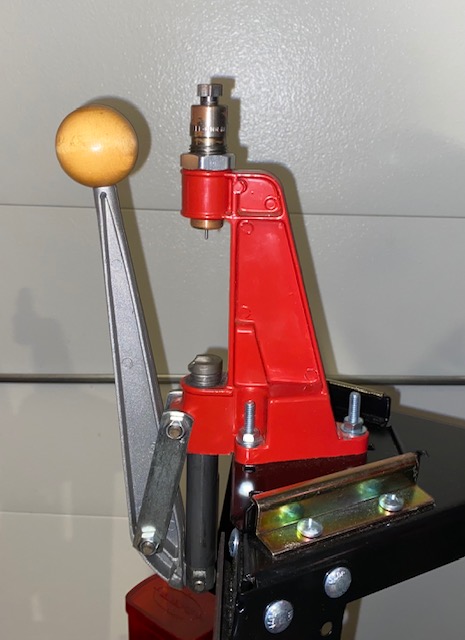
A single stage press is the least expensive type of reloading press as it is designed to perform one stage of the reloading process at a time. If you are unfamiliar with the reloading process I would highly recommend starting out with a single stage press as it will help you to learn each step in the process. Then you will become comfortable enough to move up to a turret press or a progressive press when you are ready.
Do not think that buying a single stage press now will be a waste of money because you will use it for certain things even once you purchase a progressive press. This is exactly how I started out and I am still using my single stage press exclusively for sizing my cast lead bullets which is not one of the stages on a progressive press.
Lee 9mm Die Set
If you are going to be reloading 9mm for example, you will want to get the full set of 4 Lee Dies. You can certainly buy just the de-capping/resizing die by itself, but you will need all of them to complete the reloading process. The set includes a shell holder and 4 dies that will allow you to perform all the steps to reload your ammunition.
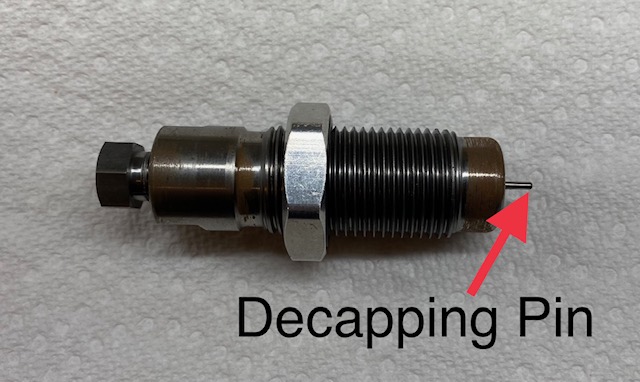
- Sizing Die. This is the die that we are using in this article to resize the brass and remove the spent primer.
- Powder Through Expanding Die. This allows a premeasured amount of gun powder to drop into the brass casing and it will slightly expand the mouth of the casing to easily receive the bullet.
- Bullet Seating Die. This die seats the bullet to the proper depth inside the brass case.
- Factory Crimp Die. This last die will slightly crimp the mouth of the case to securely hold the bullet in place.
Shell Holder
The shell holder is simply an adapter that holds the brass casing in place on the press. There are different shell holders for different calibers of ammunition. You will need a shell holder appropriate for your caliber.
Common Lee Precision Shell holders:
| Caliber | Lee Shell holder # |
| 9mm, .40 S&W, 10mm | 19 |
| .45 ACP | 2 |
| .38 Special, .357 Magnum | 1 |
Lee Reloading Stand
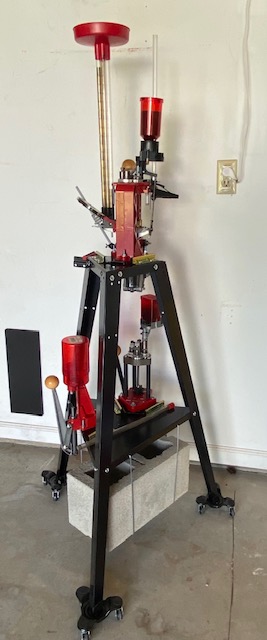
This stand is completely optional, but is quite handy if you do not have a lot of workbench space. I have 3 reloading presses that were bolted to my workbench. I finally got tired of having them in the way when I was doing other things. I bought the reloading stand and put it on some casters and it holds all 3 presses!
Important reloading tips before we get started
ONLY Brass Casings are suitable to be reloaded
Some ammunition uses metals other than brass for their casings. These are not suitable to be reloaded as only brass is malleable enough to be properly resized and crimped to create a new reloaded round. A lot of defensive ammunition as well as cheap ammo such as Bear and Wolf use steel casings. These cannot be reloaded. Be sure you only use brass casings for your reloading.
Brass Casing Inspection
It is critical that you do not reload deformed, crushed, split or otherwise damaged brass! Always inspect your used brass before you reload it.
De-priming and resizing your used brass is the first step in the reloading process. This is also a great time to visually inspect each brass casing as you handle it to be sure it is not damaged, split, dented or otherwise deformed in any way.
As you go through the processes described here always be looking at your rounds and discard any that do not look undamaged and in good shape.
Steps to De-prime and Resize Brass
The steps are listed here first and then explained in more detail with pictures below:
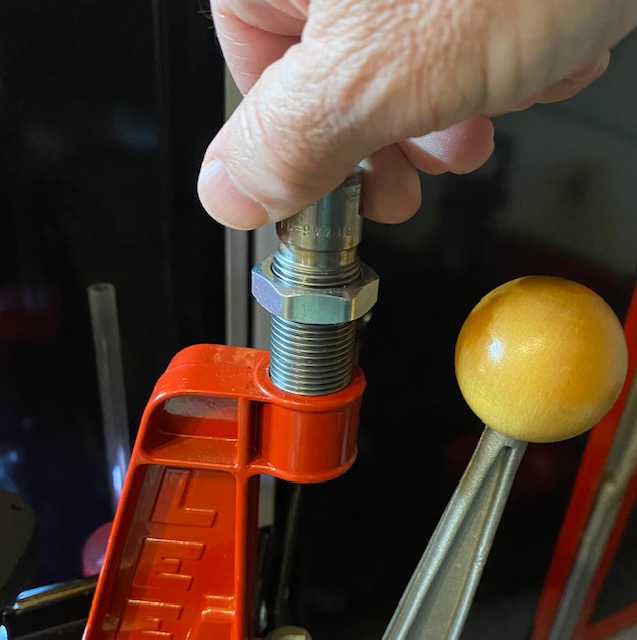
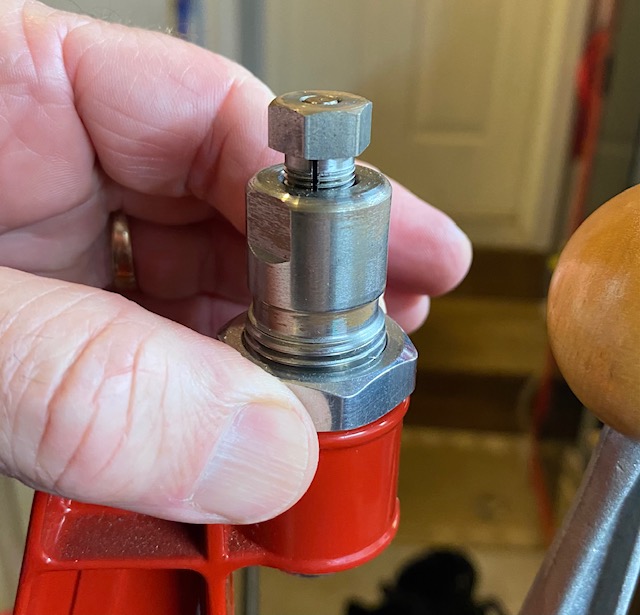
- Screw the de-capping die into the the top of the press.
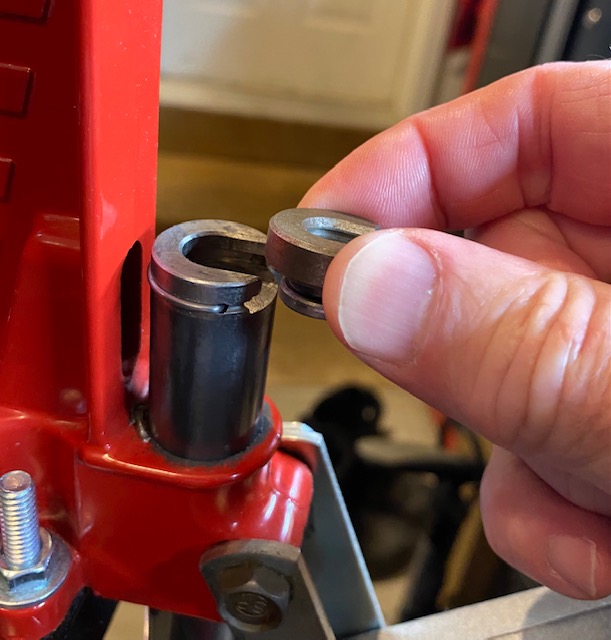
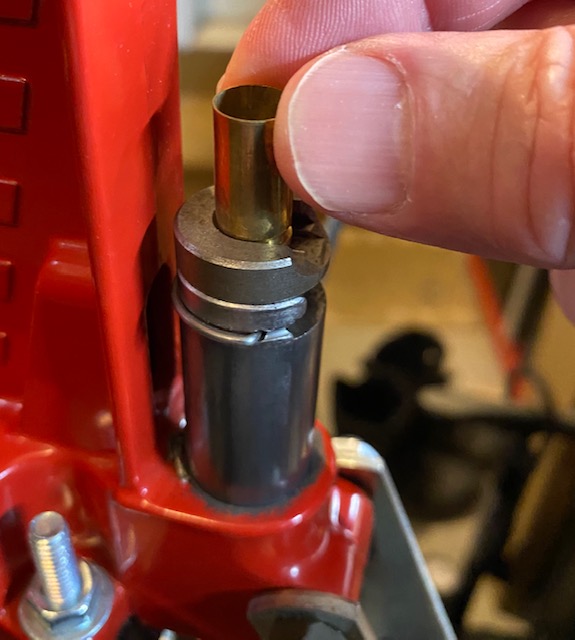
- Insert the appropriate shell holder into the top of the ram (piston).
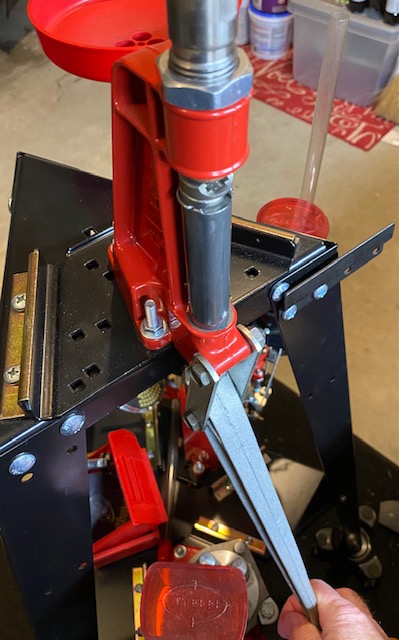
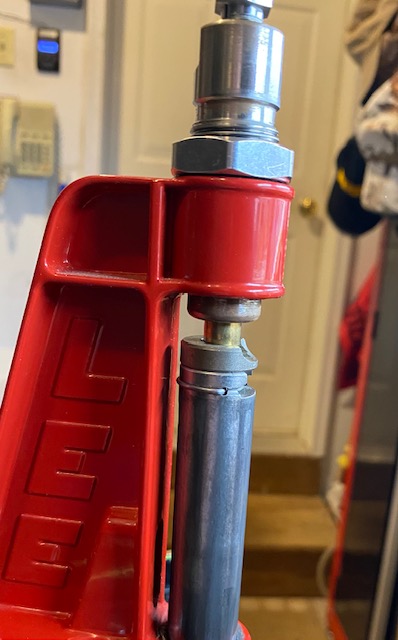
- Push the press arm all the way down to raise the ram as high as it goes.
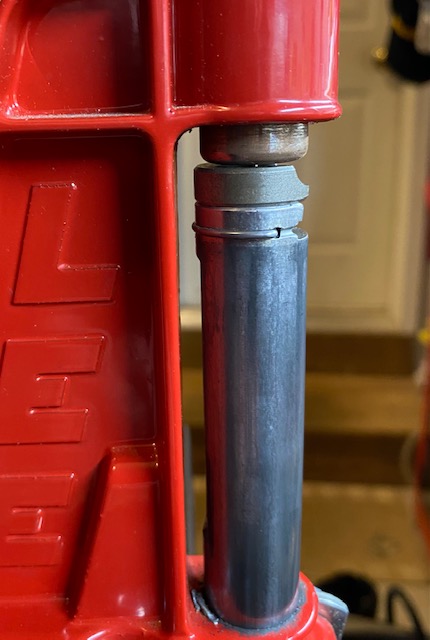
- Adjust the height of the die until it is about 1-2 millimeters above the top of the shell holder and tighten the locknut.
- Bring the arm back up and place a brass casing into the shell holder.
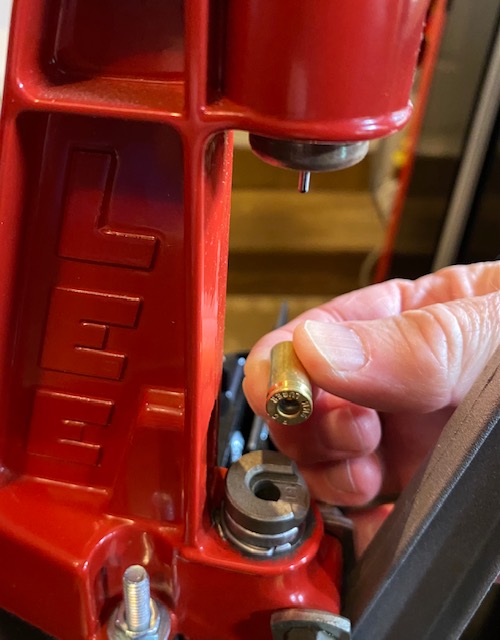
- Slowly press the arm down, forcing the casing into the die. The primer should pop out.
- Bring the arm back up and remove the de-primed and resized brass casing from the shell holder.
- Repeat with another Brass Casing.
It’s very simple.
Here are pictures to help show more detail.
Next Steps to Reloading
Once you have resized and de-capped or de-primed all your brass and inspected them to be sure all are in excellent, undamaged shape, it is time to clean the brass casings. See How to Clean Brass Casings for Reloading.

