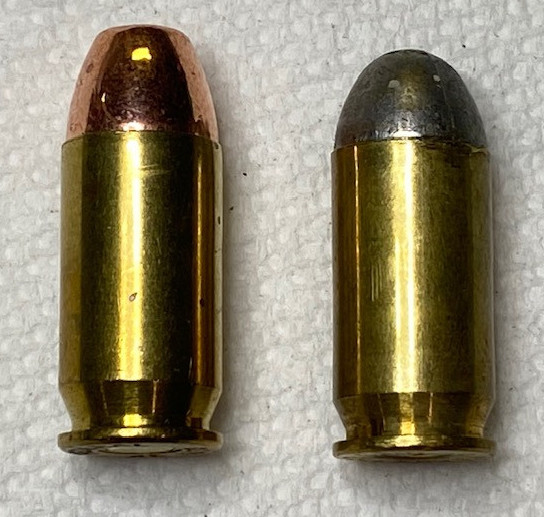
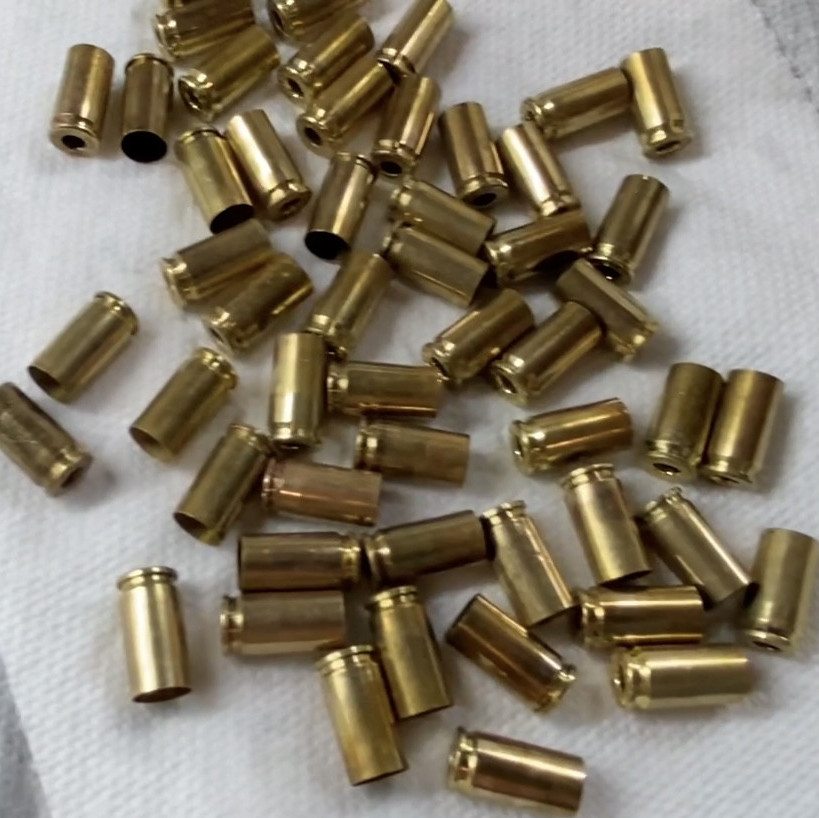
How to clean and prepare your used brass for Reloading. In this article I will show you how to clean the brass you picked up on the range to be reloaded again.
This is the first step in reloading your own ammunition. This article will deal with pistol caliber ammo, and most of the pictures will be demonstrating .45 ACP and 9mm calibers. Also if you are interested in casting your own bullets, see How to Cast Lead Bullets for Reloading.
If you are just beginning reloading, See: How to Start Reloading Ammo
Cleaning Brass Cartridge Casings for Reloading
In order to reload successfully, the first thing we need to do is clean the brass. If it was picked up off the range, it will have carbon on it from when it was fired. If your brass casings were on the ground outside, it will likely have mud, dirt or gravel on it as well as inside of it.
If you look online at reloading supplies, it can be confusing as there are hundreds of cleaning products, tumblers, tumbler media, polishing compounds and gadgets to help you prepare and clean your brass.
I am here to tell you that you do not need any of that!
If you want your newly reloaded rounds to be bright and shiny and look just like factory rounds, then yes, you can buy all that equipment and impress your friends. Personally, I just want reliable ammo and it does not need to look brand new.
In this article, I will be showing you how to make good, clean, reliable ammunition without spending a lot of money or spending endless hours tumbling and polishing the brass.
Steps to prepare brass casings for reloading
There are only a few things you need to do to prepare the used brass for re-use. you will need to:
- Perform a visual inspection
- Remove the spent primer
- Clean the brass
Visual Inspection
This is one of the most important parts of the reloading process. As a reloader, You are now effectively a manufacturer of ammunition and good quality control is essential. You should be inspecting each cartridge at several points during the reloading process, but doing it now makes the most sense and can potentially save you the most hassle. If you discard the bad brass now, your success rate in making safe and reliable ammunition goes up dramatically.
Inspection takes about two seconds per piece, as you are looking for obvious issues:
- Splits or cracks in the casing
- Dents or dings
- Any sign of bulging or stress on the casing
- Sort the brass according to primer size (.45 ACP only)
As far as I know, sorting only applies to .45 ACP brass. There are 2 sizes of pistol primers, small and large. It used to be that all .45 ACP cartridges used large pistol primers, but this is not the case anymore. Some manufacturers now use small pistol primers. This means that you must separate these and be sure you are loading the correct primers into your .45 ACP reloads.
Remove the Spent Primer (Decapping)
Unless you are going to use a progressive reloading press, the next step is to remove the spent primer. This is also called de-priming or decapping the brass casing.
When using a progressive press, one of the functions of the press is to remove the old primer and then the next function is to install a new primer. This all happens pretty much automatically. So, if you are using your progressive press to remove the old primer, the next step to preparing your brass is to clean the brass.
For those of you that are doing this process using a single state press, you will now remove the spent primer on all your brass before moving on to the cleaning process.

Removing the spent primer will be done using a decapping and resizing die installed into your single stage press.
See my short video on this process here:
Basically, you are going to take each piece of brass, place it into the case holder and force the casing up into the die. This will perform two important functions. First, it will “resize” the brass. When a round is fired it expands slightly, so now you are going to force it back to its original diameter. At the same time, the decapping pin in the die will force out the spent primer from the bottom.
Clean the Brass
This is the part of the brass preparation process that can be as simple or complicated as you want it to be. What I mean by this is you need to decide how you want the finished product to look.
You can just use a simple cleaning procedure to get the brass clean or you can spend a lot of time and money making the brass shiny and polished like factory ammo.

Making it shiny like factory ammunition is awesome and impressive, but you will need tumblers and tumbling media, Ultrasonic cleaners and who knows what else to clean and polish your brass to be shiny and pretty.
I choose the quick cleaning method, which I will discuss here.
IOSSO Case Cleaner
I use a brass cleaning solution designed specifically for reloaders. It is the Iosso Brass Case Cleaner Kit. Also available at Brownells.
There are lots of great products out there for this process, this is the one I have used for years and works very well.
The process is very quick and easy. The Iosso Case Cleaner kit comes with the case cleaner, mesh bag and a small bucket. You simply pour the cleaner (wear chemical proof gloves such as Venom Chemical Resistant Disposable Nitrile Gloves) into the bucket, place your brass casings in the mesh bag and submerge it into the fluid for 20 seconds to 5 minutes. Then remove and rinse the casings with water and spread them out to dry. That’s it!

Here is a video of the Iosso Case Cleaner Process:
If you want to also tumble the brass and polish it, that is up to you. I’m done cleaning at this point and move on to inserting new primers.

