The Glock 19 Gen 6 is easy to maintain, but you should know where to clean and lubricate it. In the video below, I walk through the complete process I use to field strip, clean, lubricate, and reassemble. Additionally, this covers the complete cleaning of the Glock 19 Gen 6.
Gun Cleaning Supplies Used
You do not need every item shown in the video. A basic cleaning kit will handle most routine maintenance, while a few specialty items can make the job faster and easier.
Affiliate disclosure: Some links in this article are affiliate links. If you purchase through them, I may receive a small commission at no additional cost to you.
- Hoppe’s 9mm BoreSnake – a fast alternative to cleaning the bore with individual patches.
- Gun cleaning brush – useful for the slide, frame rails and hard-to-reach areas.
- Cotton swabs or lint-free cleaning swabs.
- Otis gun-cleaning pipe cleaners – especially useful around the extractor and other tight spaces.
- Nitrile gloves – recommended when working with conventional solvents.
- Microfiber/cotton cleaning cloths.
- BTAS CLP with Precision oiler
- Original Gun Oil
- Hoppes No. 9 solvent
- Solvent dispensers
I also use Hoppe’s No. 9 solvent, a 9mm cleaning kit and patches, safety glasses, CLP/gun oil, and a precision oiler in the video. Always follow the product manufacturer’s directions.
For a more complete list of cleaning supplies, see my DIY Gun Cleaning Station and Supplies Guide.
Before You Begin: Verify the Glock Is Unloaded
Before any cleaning or maintenance, remove the magazine and verify that the chamber is empty. Keep ammunition away from the cleaning area.
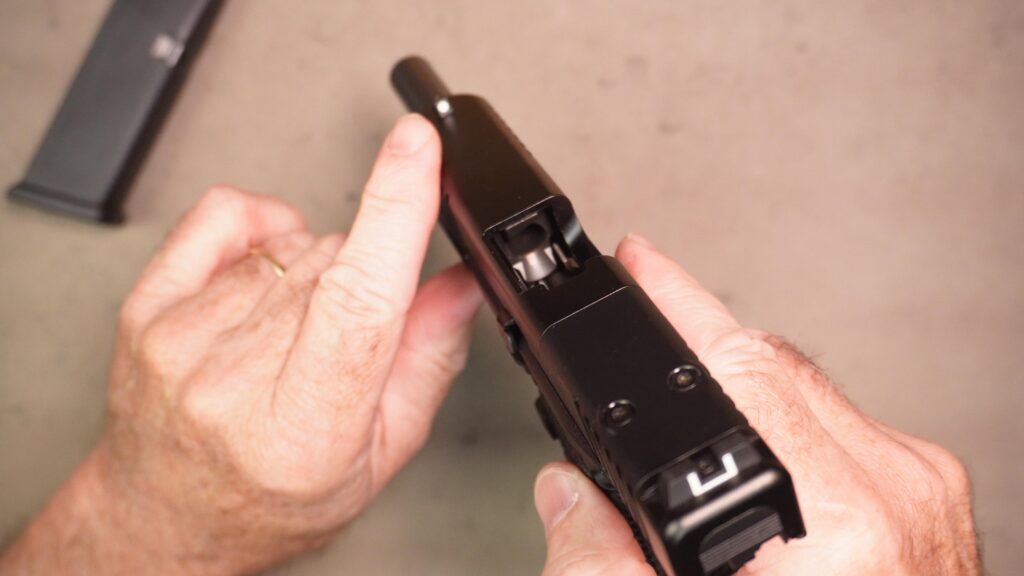
Because Glock field stripping requires the trigger to be pressed, this verification is especially important. Keep the firearm pointed in a safe direction throughout the process.
How to Field Strip the Glock 19 Gen 6
After verifying the pistol is unloaded, close the slide, point it in a safe direction, and press the trigger. Retract the slide slightly, pull down both take-down levers, and allow the slide to move forward off the frame.
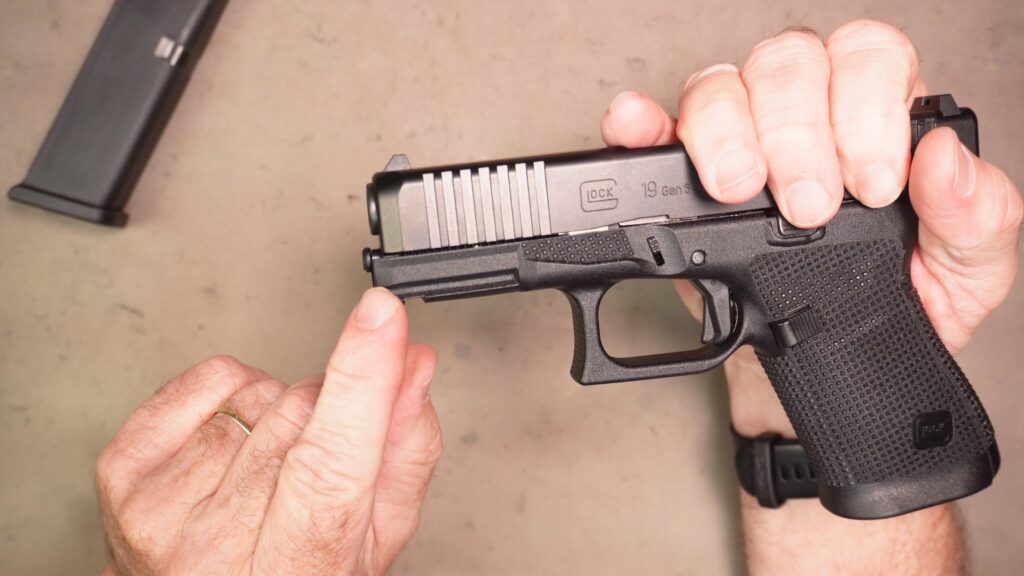
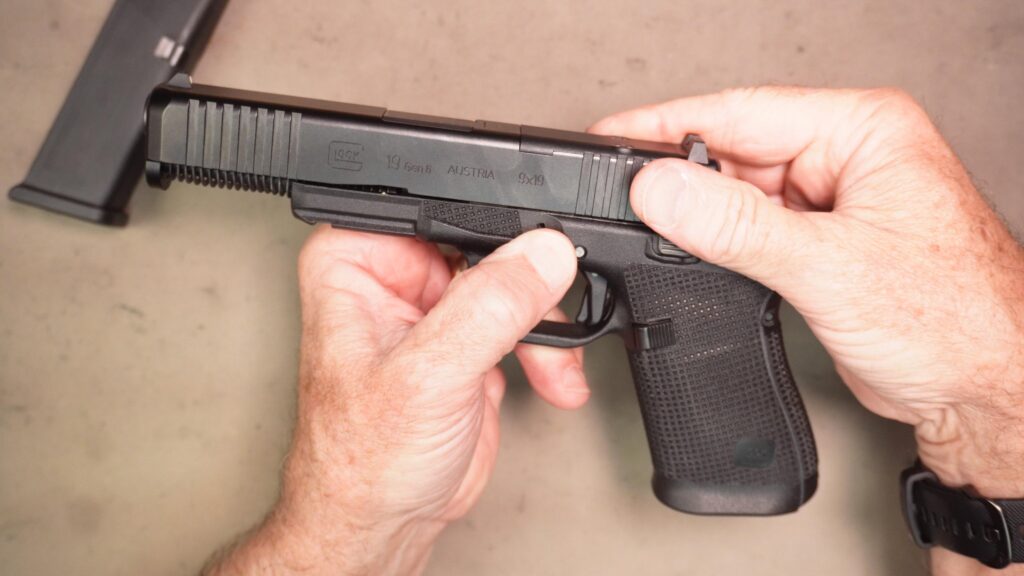
Turn the slide upside down, remove the recoil spring assembly, and then lift out the barrel.
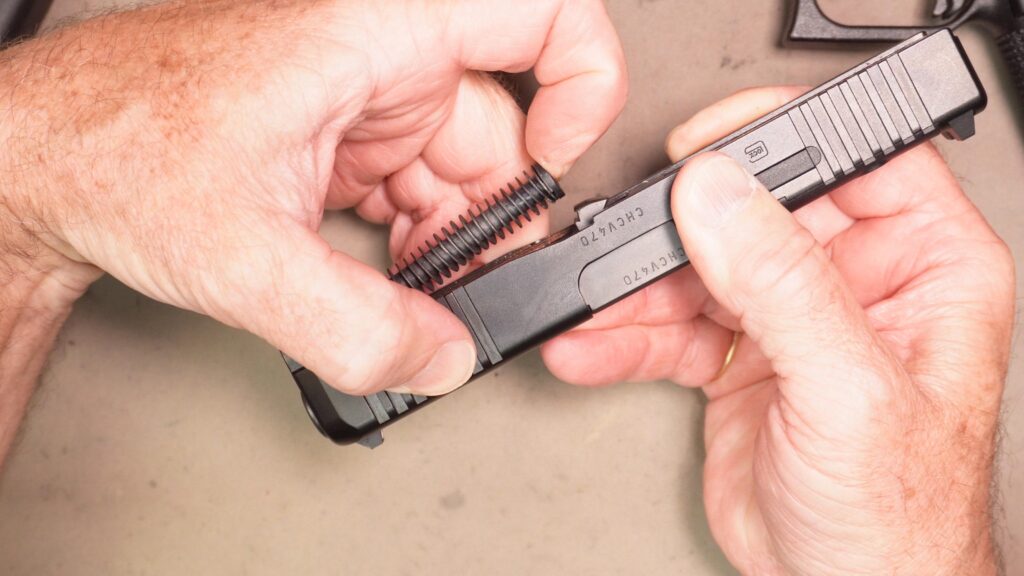
For more detail on the basic Glock take-down procedure, see How to Disassemble and Field Strip a Glock.
Cleaning the Glock 19 Gen 6 Barrel
For the Glock 19 Gen 6 cleaning, I usually start with the barrel because it is typically one of the dirtiest components. For traditional cleaning, wet a patch with a suitable bore solvent such as Hoppe’s No. 9 and run it through the bore. Allow the solvent to work for several minutes, then use a correctly sized 9mm bore brush to loosen fouling.
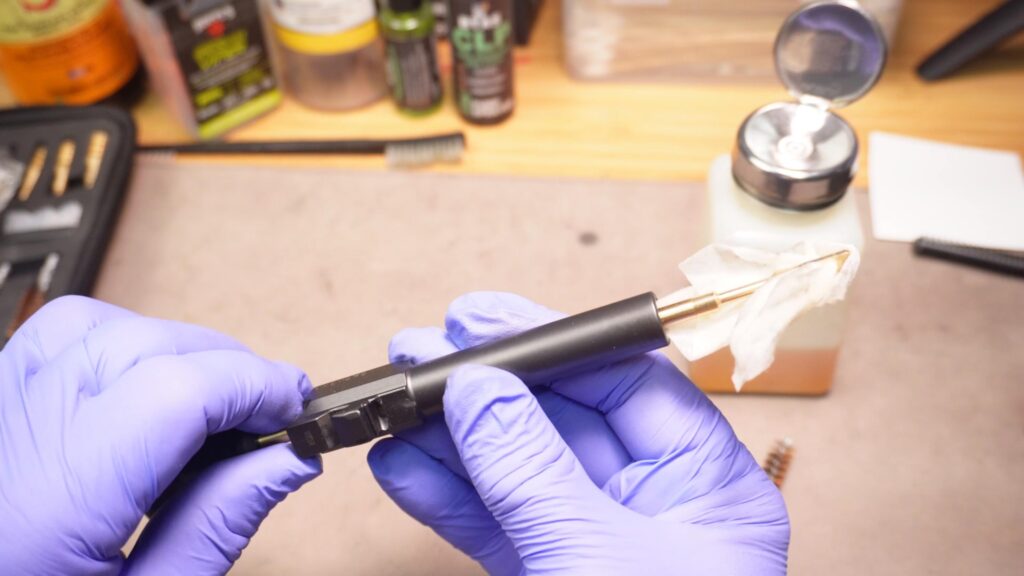
Follow with fresh solvent-wet patches until they begin coming out relatively clean, then use dry patches until the bore is clean and dry. Clean the exterior of the barrel as well, paying particular attention to the feed ramp, muzzle and locking surfaces.
Faster Method: Use a BoreSnake
For routine maintenance, a Hoppe’s 9mm BoreSnake can save considerable time. After allowing a small amount of solvent to work in the bore, pull the BoreSnake completely through.
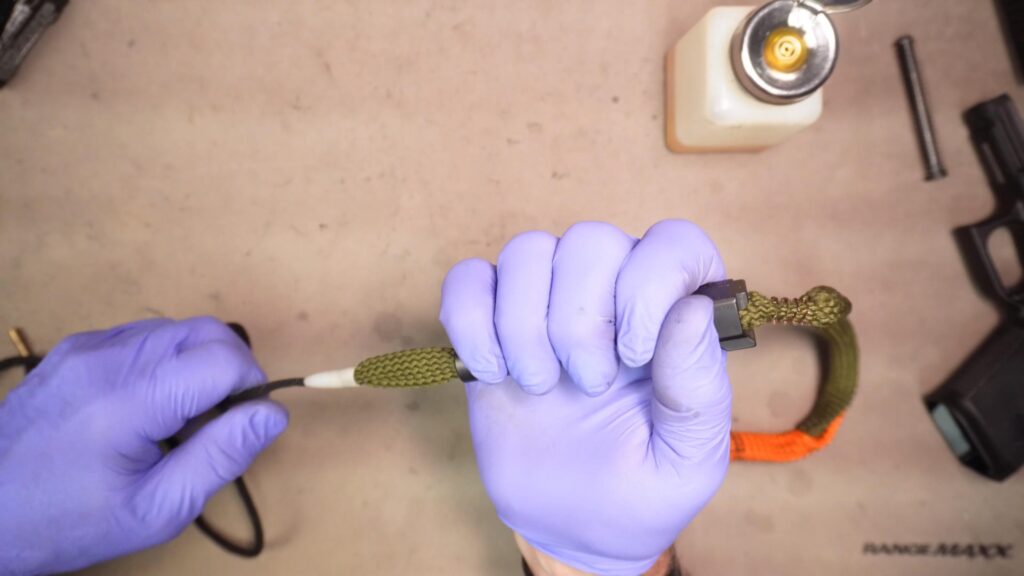
Its integrated brushes loosen fouling while the fabric portion removes residue. Two or three passes may be sufficient for a lightly fouled barrel.
Cleaning the Slide
Use a nylon bristle brush and a small amount of suitable solvent or CLP to clean the slide cuts and areas where carbon accumulates. Newer Glock pistols may have copper-colored factory lubricant present. Do not make a special effort to scrub this material away; some will naturally disappear through normal use and cleaning.
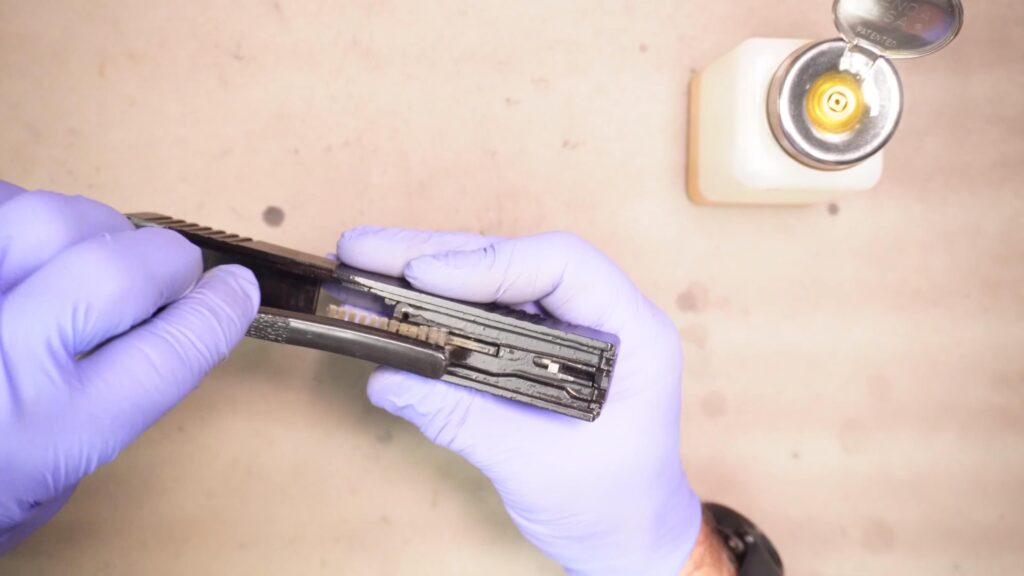
Clean the breech face and inspect the extractor area. Be conservative with liquids around the firing-pin channel—you do not want excess lubricant migrating into it. Pipe cleaners and pointed swabs can help reach tight areas.
Cleaning the Frame
The frame generally requires less cleaning than the barrel and slide. As a result, concentrate on the four frame rails and visible metal components where residue has accumulated.
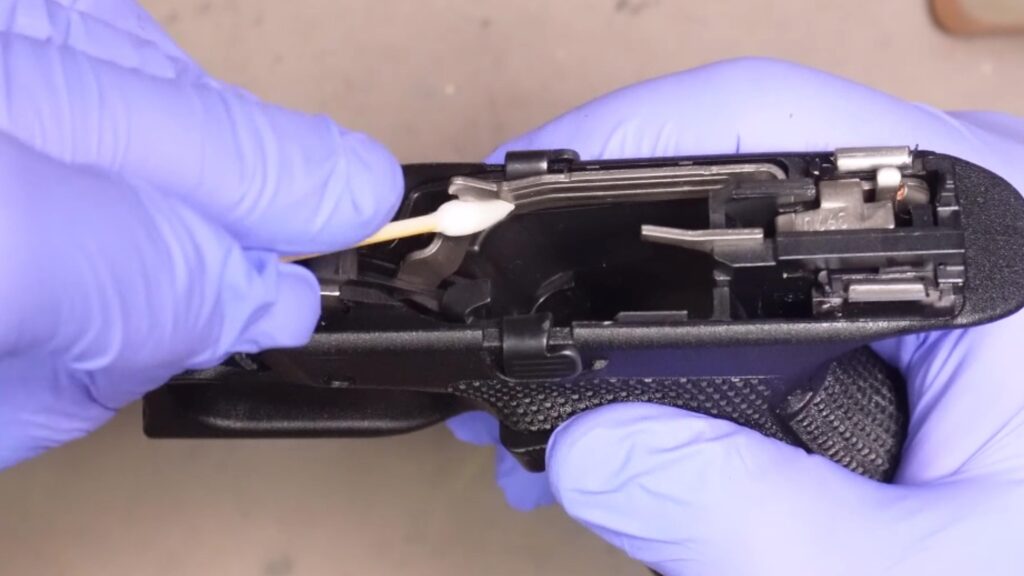
Use a nylon brush or swabs without forcing or bending internal components. For the polymer grip, a clean dry brush and cotton cloth are often sufficient.
Recoil Spring and Magazine
The recoil spring assembly normally needs little more than a dry brushing to remove visible debris, and I do not lubricate it during routine maintenance.
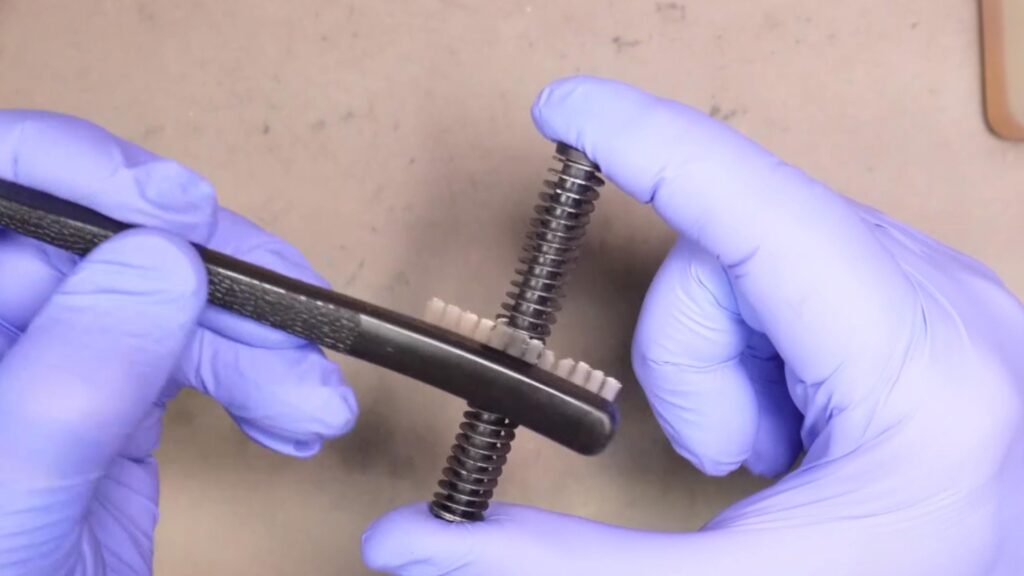
For the magazine, wipe down the exterior and inspect the feed lips, follower, body, and base plate. Avoid putting oil inside the magazine. If a magazine has been dropped in dirt, mud, water, or gravel, a full disassembly and cleaning may be appropriate.
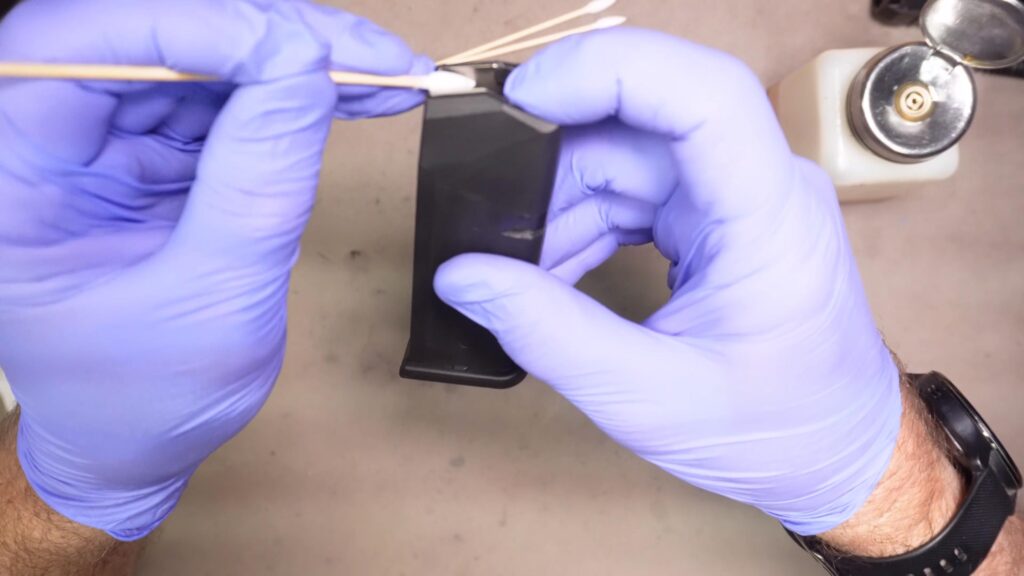
See my Glock Magazine Disassembly and Cleaning Guide.
Lubricating the Glock 19 Gen 6
During Glock 19 Gen 6 cleaning, ensure the components are clean and dry.
Then, apply a small amount of quality firearm lubricant to the appropriate contact surfaces.
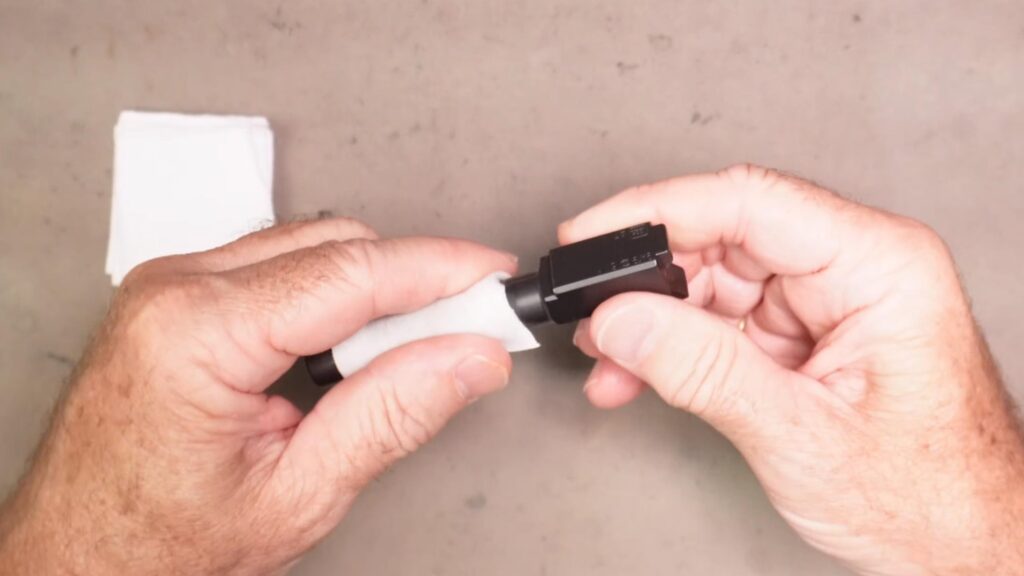
The objective is a light film, not a pistol dripping with oil.
Lightly coat the exterior barrel contact surfaces and the slide/barrel contact areas.
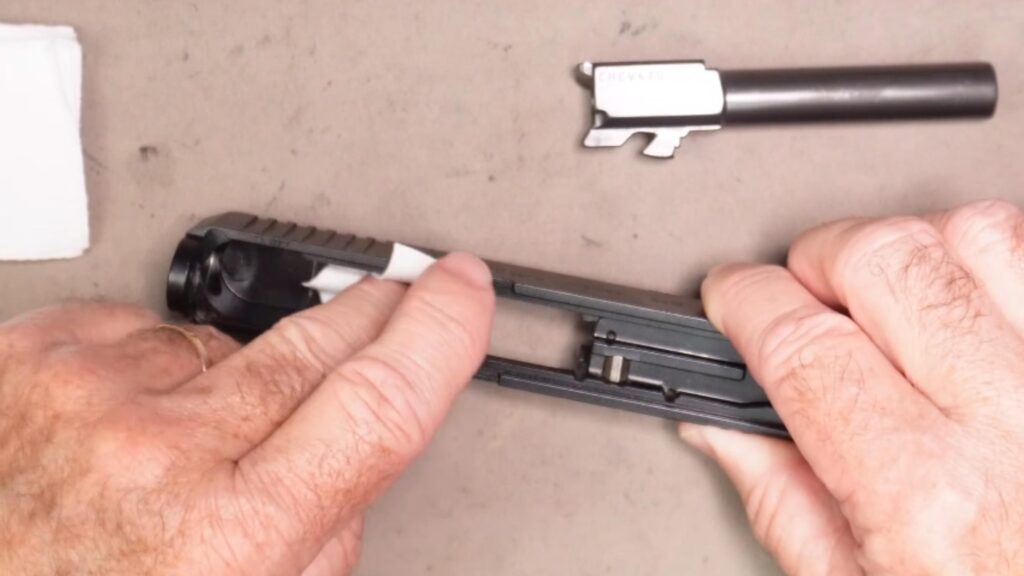
Also apply a small amount at the trigger-bar/connector interface and slide rail areas as described in the Glock manual.
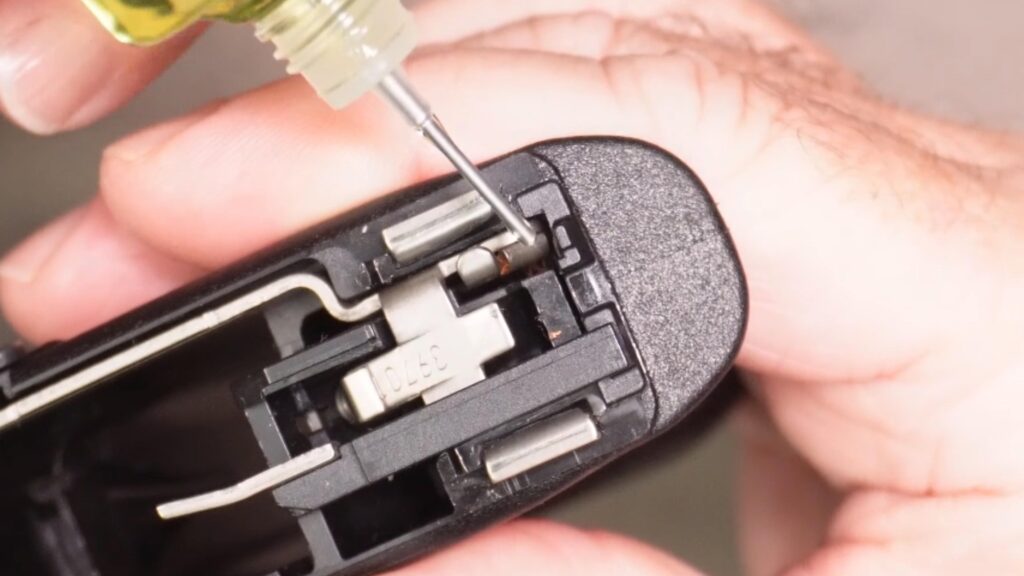
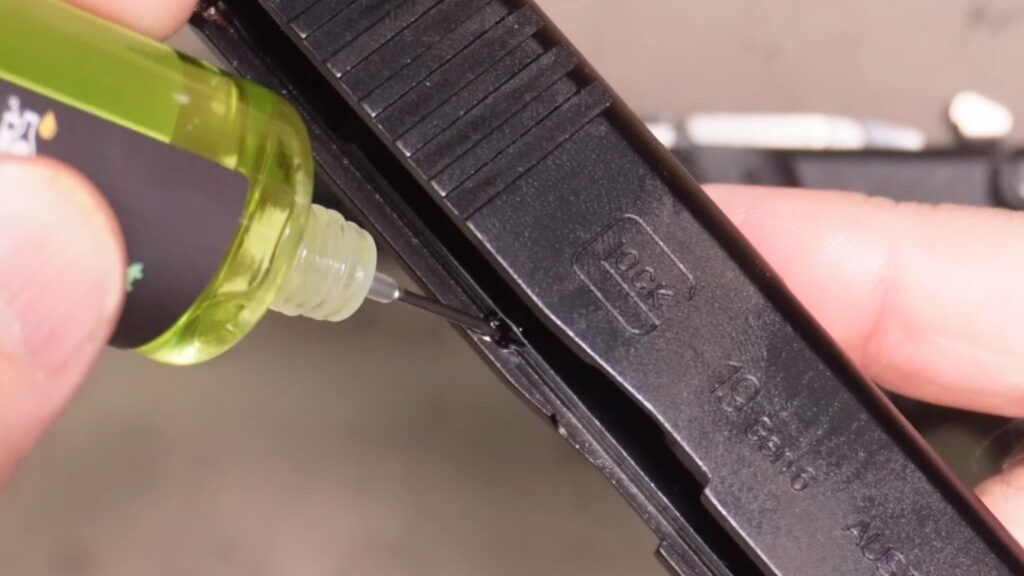
For additional information, see my Glock Lubrication Guide.
Reassembling the Glock 19 Gen 6
Additionally, place the barrel back into the slide and properly seat the recoil spring assembly. Next, align the slide with the frame rails and carefully move it rearward onto the frame.
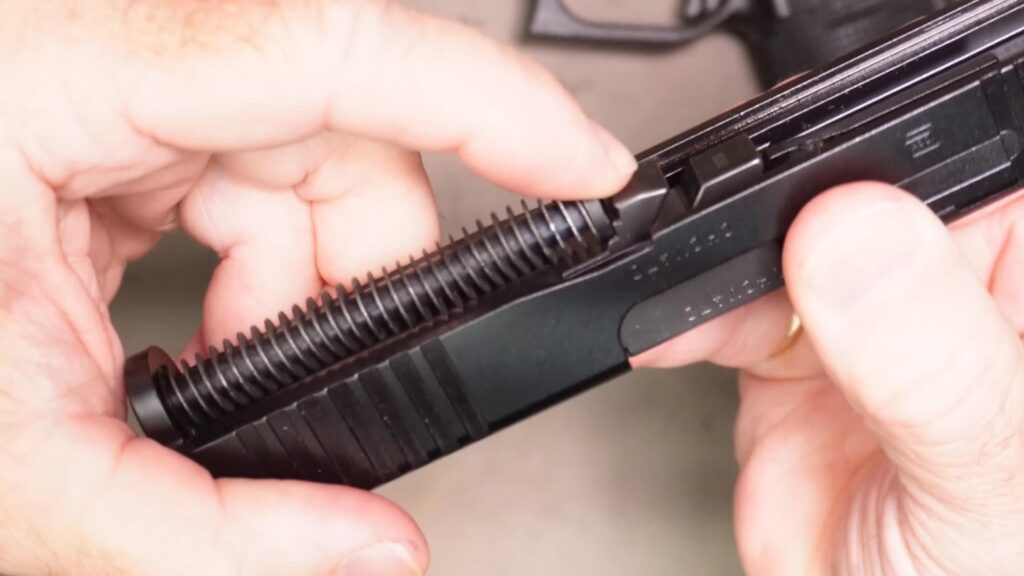
As demonstrated in the video, keeping the slide properly aligned with the rear rails is particularly important during Gen 6 reassembly.
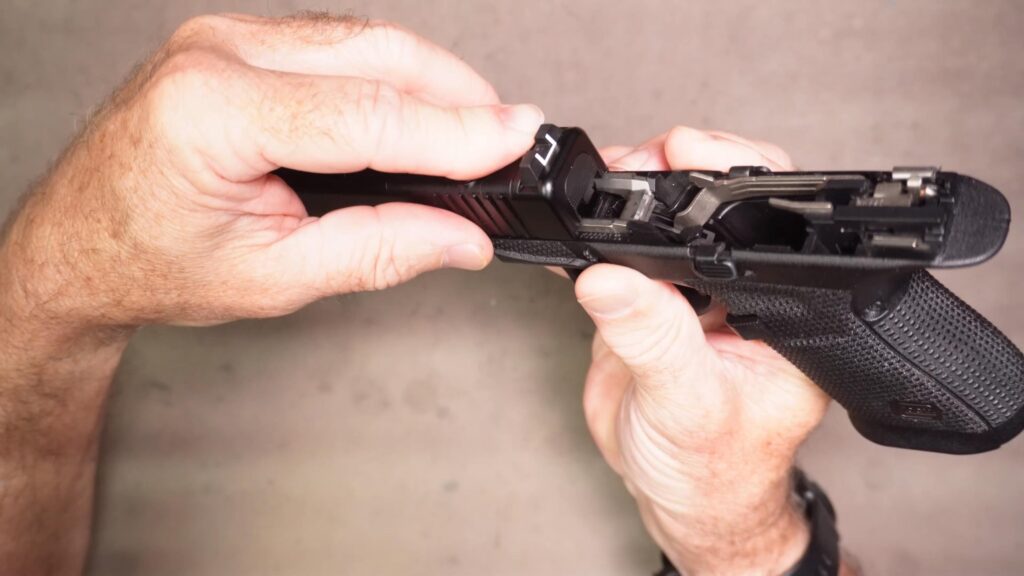
Next, rack the slide several times and verify that it moves normally.
Perform a Function and Safety Check
After cleaning and reassembly, perform the appropriate Glock user-level inspection/function and safety checks before returning the pistol to service. See my detailed Glock Safety and Function Check Guide.
Final Thoughts
In practice, you do not need a huge collection of specialized tools to maintain a Glock 19 Gen 6. Therefore, a basic cleaning kit, solvent, lubricant, patches, nylon brush, cotton swabs and clean rags can handle routine maintenance. Additionally, a BoreSnake and specialty swabs can make the process quicker and easier.
Additionally, always follow safe firearm-handling practices and consult the Glock owner’s manual for maintenance and lubrication instructions for your pistol.
