How to Perform Glock User Level Inspection, Function & Safety Tests on a Glock 19, Glock 17 or any other model
Before you reassemble your Glock 17 or Glock 19, you must perform a few quick inspections to ensure the gun is safe and in good working order. These inspections and tests are listed in the Glock User manual, and normally would be done during and just after Cleaning the Glock 17, Glock 19 or any glock Pistol.
These tests are very quick and once you do them, you will see it will only take a minute or two to complete once you understand the reasoning behind these checks. Do not let the appearance of a long list of steps bother you, they really are quick and for your safety and enjoyment of your Glock pistol!
Related Glock Article: How to Install a Glock Backstrap
There are some steps that are done when the Glock is still field stripped, and then there are a few steps to be completed after the Glock is reassembled.
No tools are needed to perform these tests, however the final Glock Slide Cycle Test requires dummy rounds to simulate the proper cycling of the firearm. This test is not called out in the Glock User Manual, but I recommend it after cleaning or reassembling any semiautomatic handgun.
Here is an Amazon Affiliate link if you need some dummy rounds.
I will separate them into Glock Internal Inspection & Function Tests and Glock External Inspection & Function Tests.
The following steps will be done before final reassembly because they involve checking things that cannot be seen or accessed after reassembly.
Here is the CALIBER DEBATE VIDEO: “Watch Our Short UNBIASED Video Comparing the Top 4 Self-Defense Calibers and See If YOU End Up Changing Handguns.”
Glock Internal Inspection & Function Tests
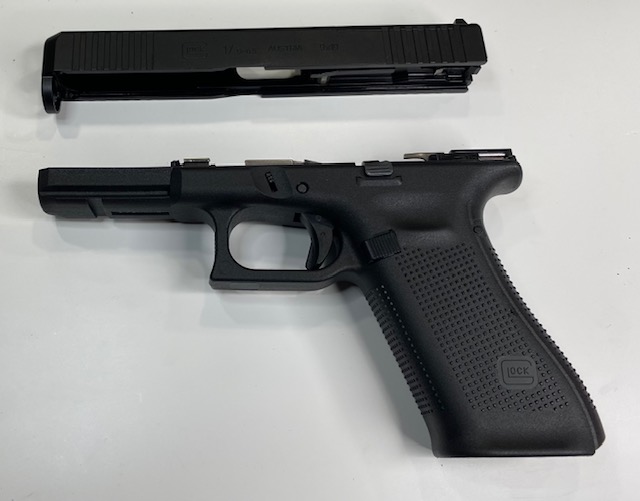
- Visual Inspection of the Frame and Slide. Look for dirt, damage or corrosion. Inspect sights, trigger, slide stop lever, magazine catch, extractor.
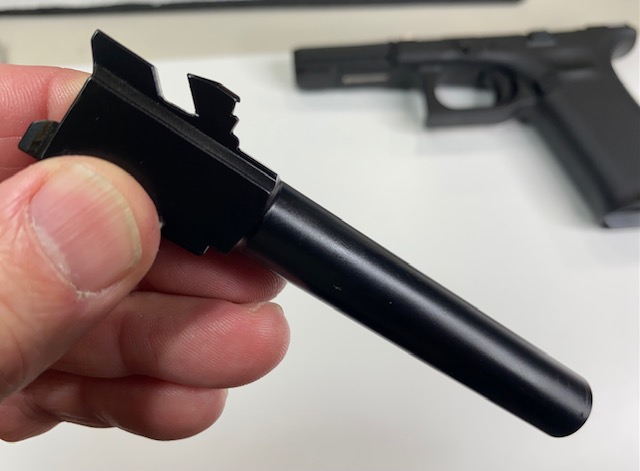
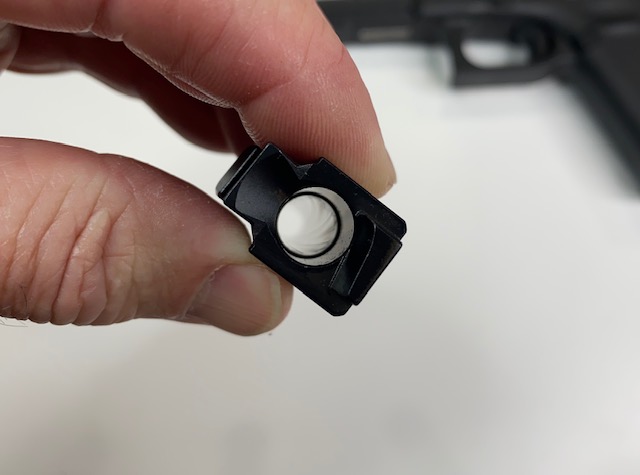
- Visual Inspection of the Barrel. Look for bulges, cracks, blockages or other damage.
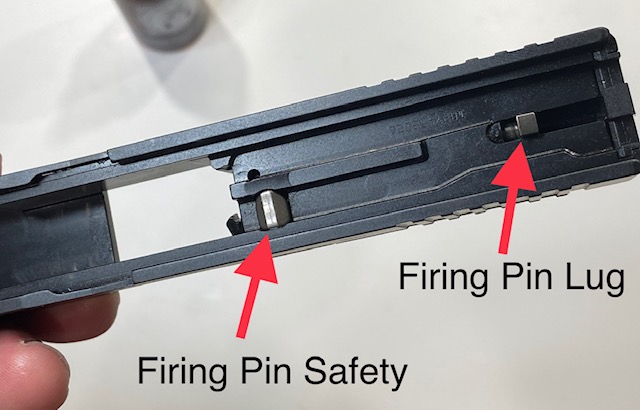
- Firing Pin Safety Test. Grasping the Firing Pin Lug, move the firing pin back & forth and make sure it does not protrude past the breech face without pressing the firing pin safety.
- Firing Pin Check. Ensure that the firing pin DOES protrude past the breech face when the firing pin safety is pressed.
- Firing Pin Channel Check. While pressing the firing pin safety, shake the slide and the firing pin should “rattle” inside the channel.
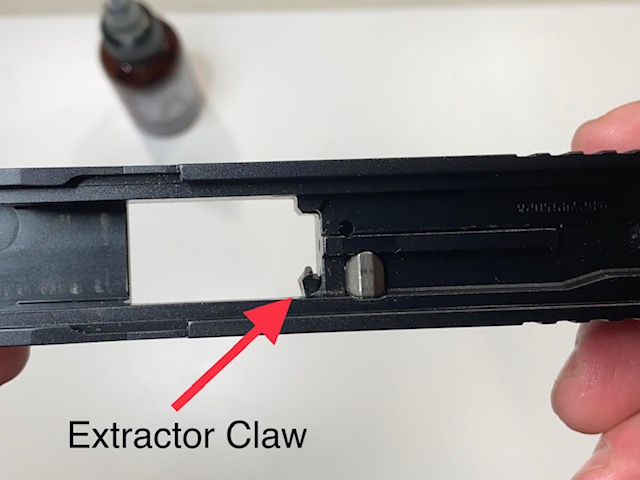
- Extractor Check. Ensure the extractor claw is clean and undamaged.
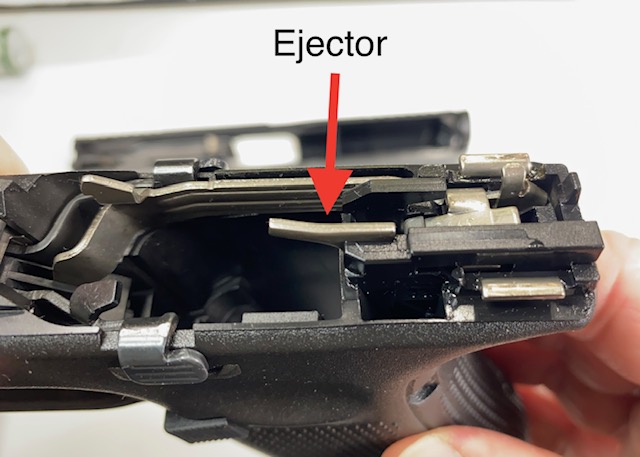
- Ejector check. Ensure the ejector appears undamaged and looks like the picture.
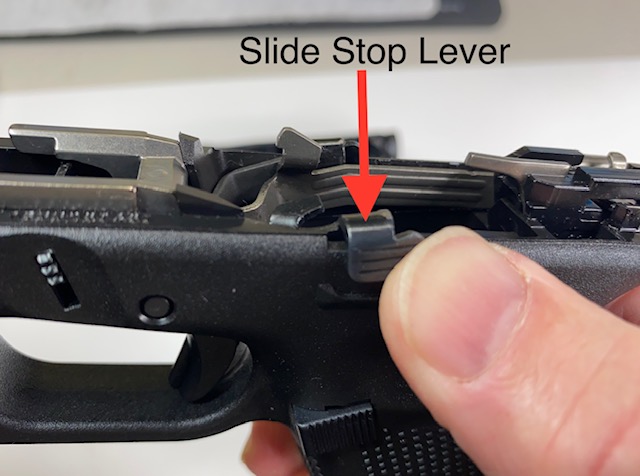
- Slide Stop Lever Test. Ensure the slide stop lever lifts easily and snaps back when released.
- Magazine inspection. Inspect all magazines for cracks, damage or dirt.
Glock External Inspection & Function Tests
- Trigger Safety Test. Ensures the trigger safety is in working order.
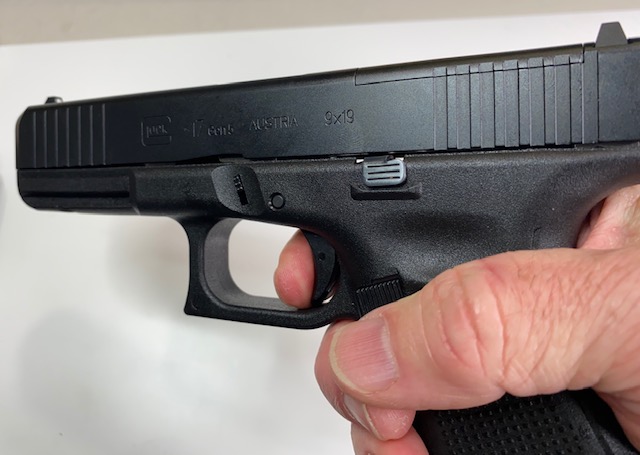
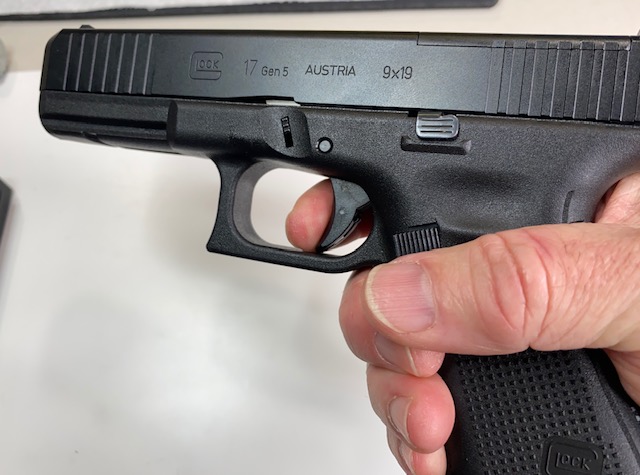
- Trigger Reset Test. This test ensures the trigger and trigger reset is working properly.
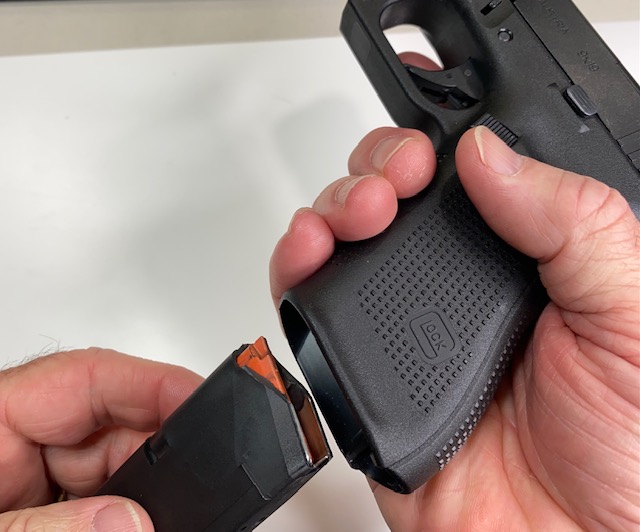
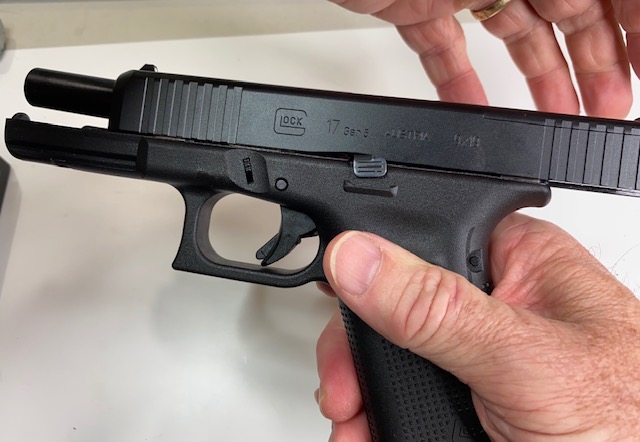
- Slide Lock-open Test. Ensures the slide will lock back on an empty magazine.
- Slide Cycle Test. This test (not included in the Glock manual) verifies that the slide is cycling, rounds are ejecting and new rounds are loading into the chamber.
I have published a video showing how these tests are performed. The video is at the end of this article.
Here are the Internal inspection steps.
Frame & Slide Inspection
Barrel Inspection
Firing Pin Safety Test
The purpose of the Glock Firing Pin Safety Test and the Firing Pin Test is to ensure that the firing pin safety is working. This is the mechanism that prevents the gun from firing in the event the pistol is dropped. The firing pin is prevented from protruding from the breech face by the firing pin safety plunger.
Only when the trigger is pressed and the firing pin safety plunger is pushed into the slide will the firing pin be allowed to protrude into the chamber and fire the round. This test will simulate this action.
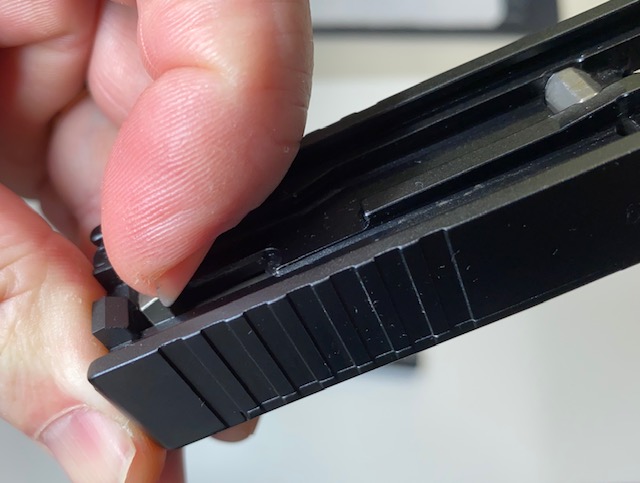
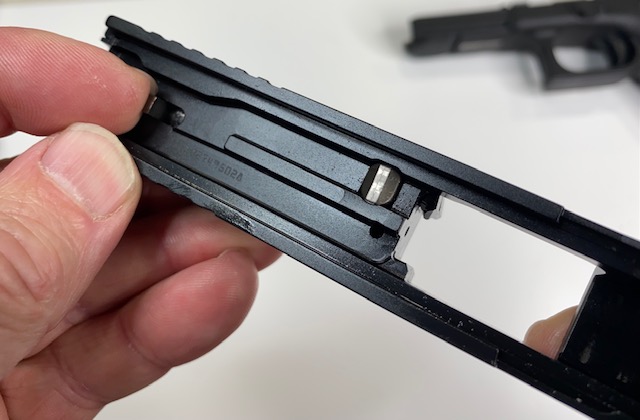
Firing Pin Test
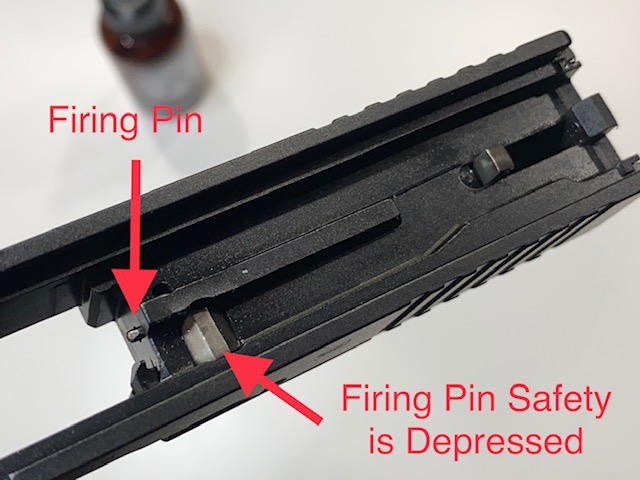
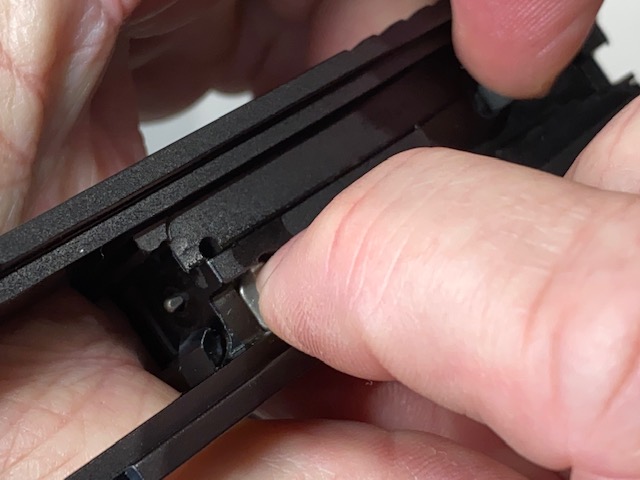
Firing Pin Channel Test
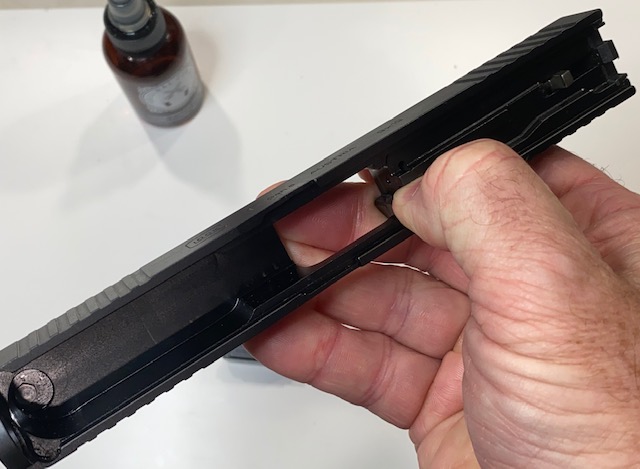
Extractor Inspection
Ejector Inspection
Slide Stop Lever Check
Magazine Inspection
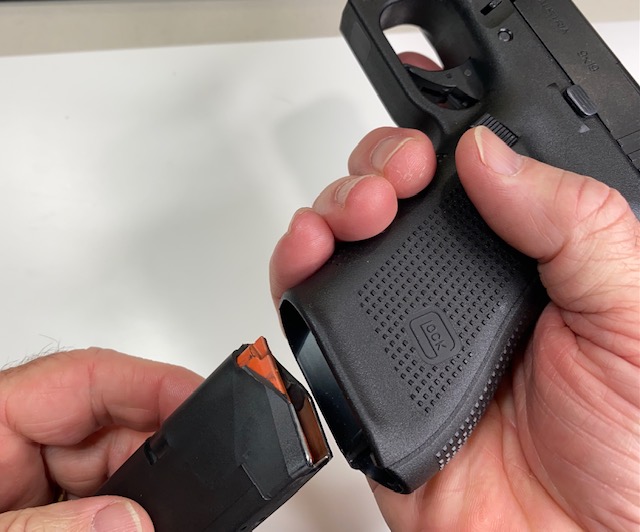
Reassemble the Glock
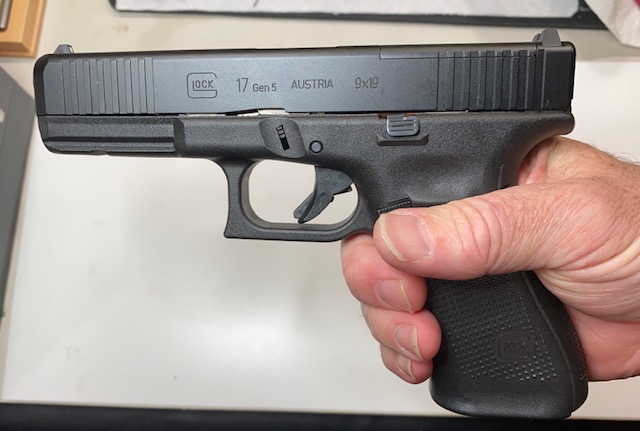
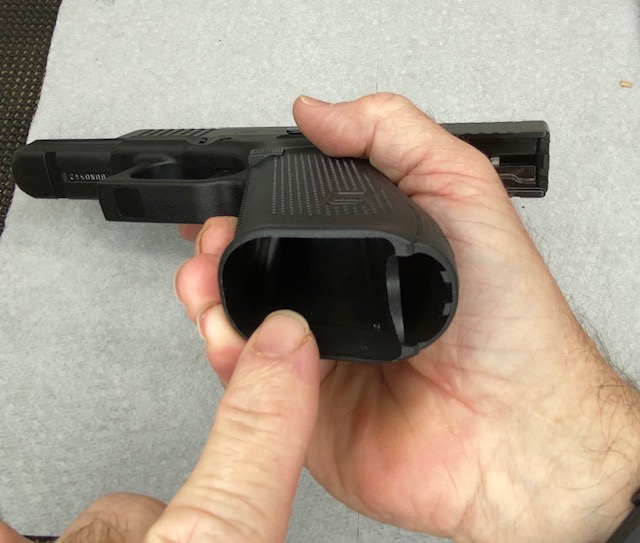
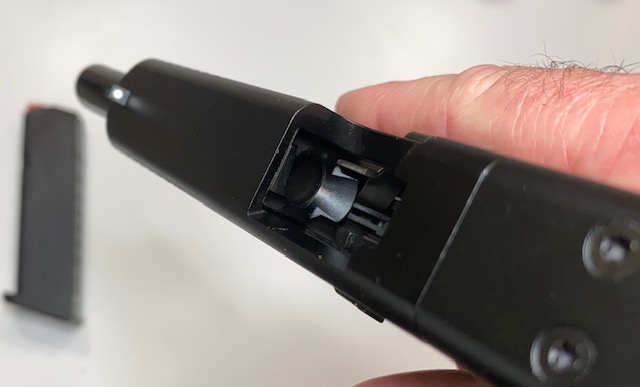
**IMPORTANT: Before proceeding to the Trigger Tests, verify the gun is completely unloaded.
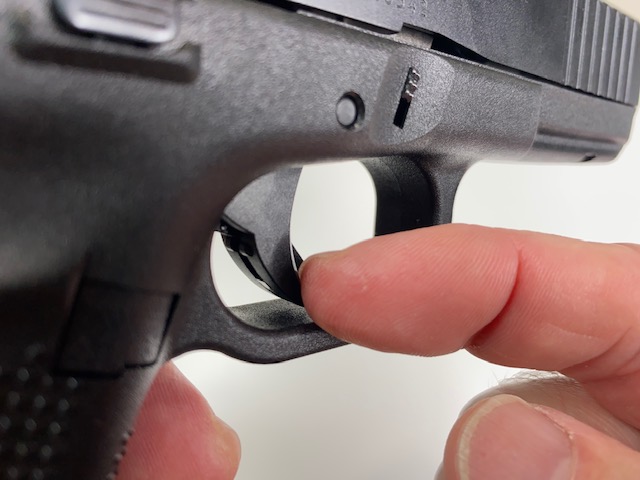
Trigger Safety Test
The Glock trigger is designed to work ONLY when the middle lever on the face of the trigger is pressed. This is to help prevent accidental discharge when an object or an article of clothing gets caught on the trigger.
Trigger Reset Test
This is a test to ensure the proper operation of the trigger and the “trigger reset”. While unloaded and pointed in a safe direction, press the trigger all the way to the rear and hold it there. You should hear the gun dry fire. While continuing to hold the trigger to the rear, rack the slide to simulate firing the gun.
Slowly allow the trigger to move forward until you hear a “click”. This is the trigger reset and now press the trigger again and the gun should dry fire again.

Slide Lock-Open Test
Slide Cycle Test
This test will simulate the firing of the pistol by manually racking the slide with only dummy rounds loaded into the gun. This will ensure that the gun will extract, eject, load the next round and lock the slide back when the magazine is empty.
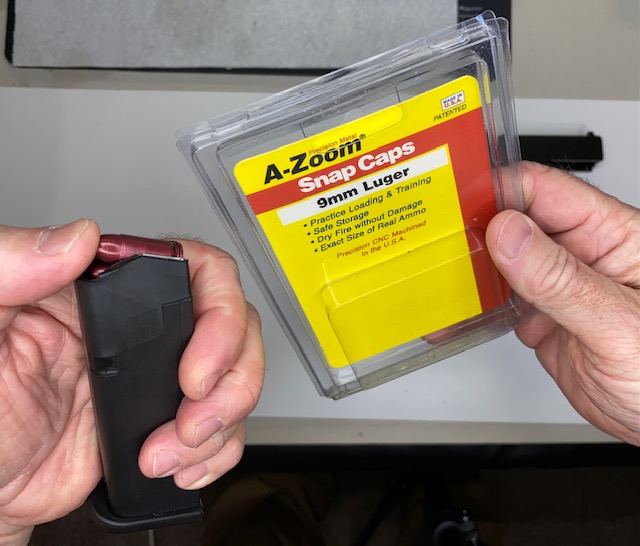
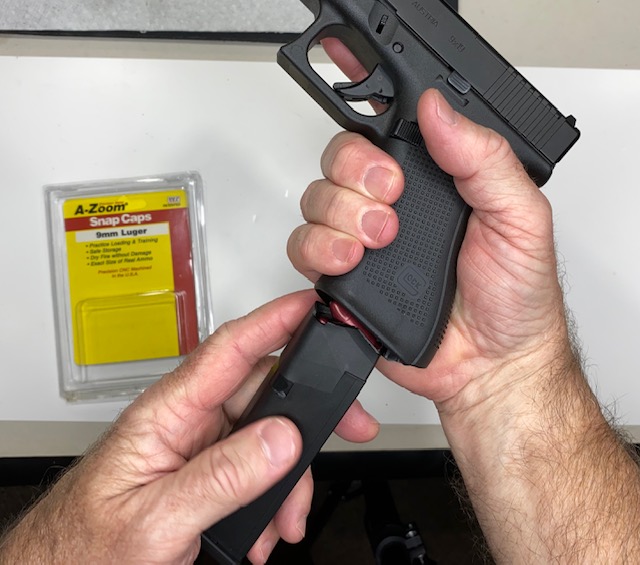
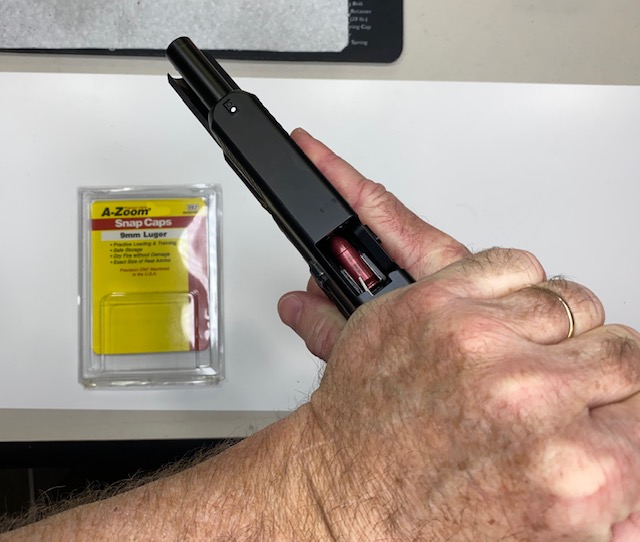
Manually rack the slide briskly 5 times. Each time you do this, one dummy round should be ejected and the slide should lock back after the final round is ejected. See the short video below.
This completes the Glock Function and Safety Tests. You will see that this is a quick and painless series of checks & tests to be sure your Glock is working properly and the safety features are in good shape.
These test are in no way a substitute for proper gun handling and strict adherence to the Rules of Gun Safety!
Video: Glock Function & Safety Checks
Please leave comments, suggestions or questions in the comment section below.
If the firing pin will move freely with a slight touch by hand but not back and forth when it is being shaken, what does that mean? When you compress the striker spring it rubs a the channel. It will move freely when touched but not when just shaken
I would disassemble the slide and remove the firing pin, and firing pin spring assembly. Then I would clean the firing pin channel really well with a brush and or pipe cleaner and make sure it is clean and dry and then reassemble. Here are a couple videos to help you:
How To Take Apart a Glock Slide. Glock 19, Glock 17
https://youtu.be/-woHePeZzPw
How to Put a Glock Slide Back Together. Glock 17, Glock 19, etc.
https://youtu.be/k2L_OLFrDo8