The Glock 19 Gen 6 Cleaning is designed to be straightforward to maintain.
However, the video below covers the maintenance process from field strip through cleaning, lubrication, reassembly, and a final safety check.
Safety first: Before beginning, remove the magazine and all ammunition from the work area. Visually and physically verify that the chamber is empty. Keep the pistol pointed in a safe direction. Follow the instructions in the owner’s manual for your Glock 19 Gen 6 Cleaning.
What You Need to Clean a Glock 19 Gen 6
You do not need a large collection of tools for normal Glock maintenance. A good gun cleaner or CLP, a nylon cleaning brush, cleaning cloth, swabs, and a 9mm bore-cleaning tool will cover most routine cleaning jobs. A dedicated gun-cleaning mat also helps protect both the pistol and your work surface.
Affiliate disclosure: Some links below are affiliate links. If you purchase through them, this site may receive a small commission at no additional cost to you.
- High-quality eye protection
- Original Gun Oil
- EXTREME Weapons Gun Oil
- BTAS CLP & Needle Tip Oiler
- Hoppe’s No. 9 Gun Solvent
- Hoppe’s 9mm BoreSnake
- Gun Cleaning Brush
- Double-ended Gun Cleaning Swabs
- Gun Cleaning Cloth
- Glock Cleaning Mat
- Glock Tools & Accessories
Step 1: Verify the Glock 19 Gen 6 Is Unloaded
The most important step happens before cleaning begins. Remove the magazine, lock the slide open, and inspect the chamber and magazine well. Physically and visually verify that the pistol is unloaded. It is also a good practice to keep all live ammunition in another location while you are cleaning.
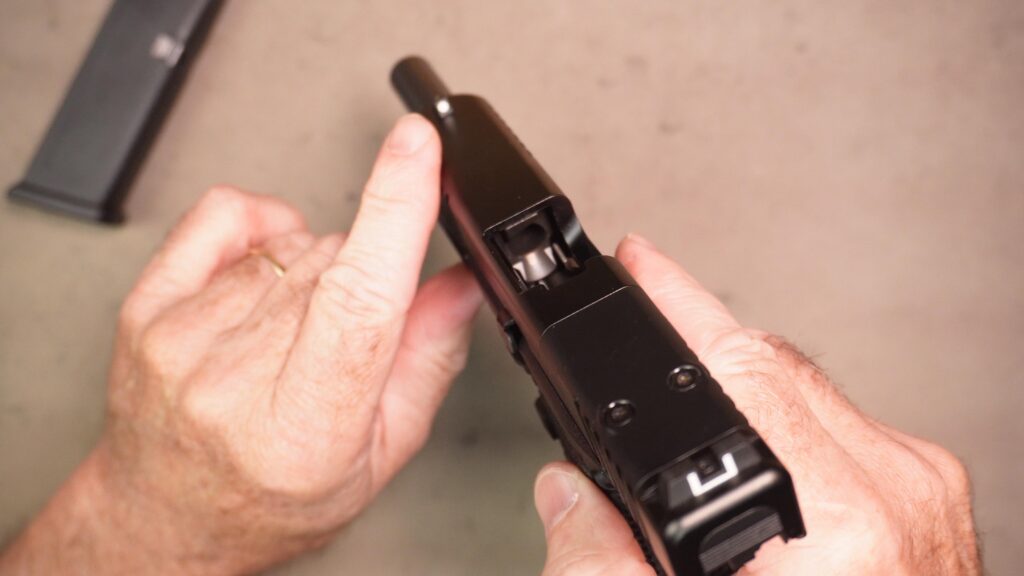
Do not rely on memory or assume the gun is empty because you unloaded it earlier. Establishing the same unloading routine every time makes safe maintenance a habit.
Step 2: Field Strip the Glock 19 Gen 6
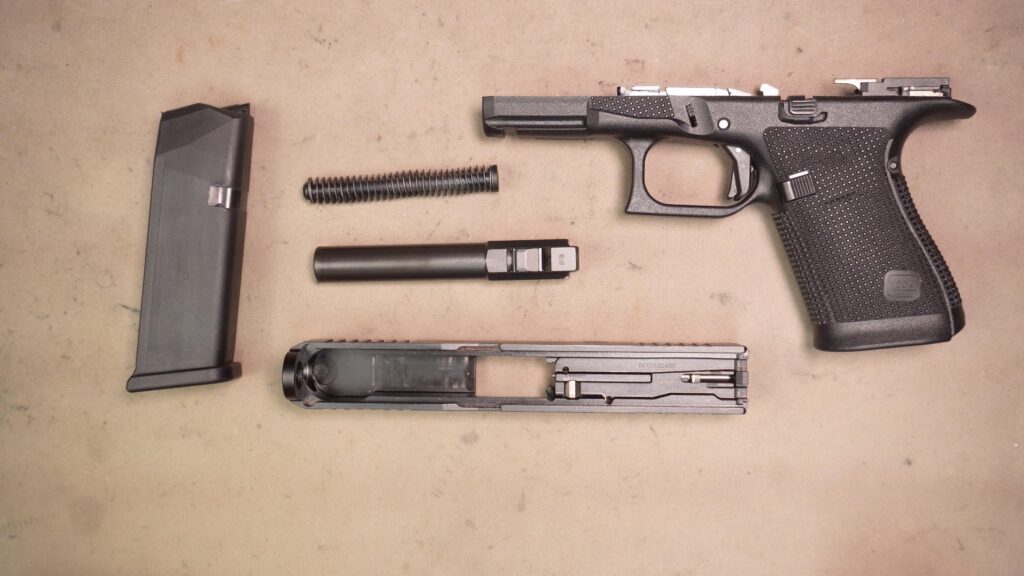
For ordinary cleaning, the Glock 19 Gen 6 only needs to be field stripped into its major assemblies. Follow Glock’s instructions for your exact model. Once field stripped, you will have the frame, slide, barrel, and recoil spring assembly separated. They are accessible for routine cleaning.

There is generally no reason to remove the trigger mechanism, striker assembly, extractor, or other internal components during a normal after-range cleaning. Detail stripping is a separate maintenance procedure and should only be performed when appropriate.
Step 3: Clean the Barrel and Chamber
The barrel usually receives some of the heaviest fouling. Start by wiping the outside of the barrel, paying attention to the chamber area, feed ramp, locking surfaces, and other areas where residue collects.
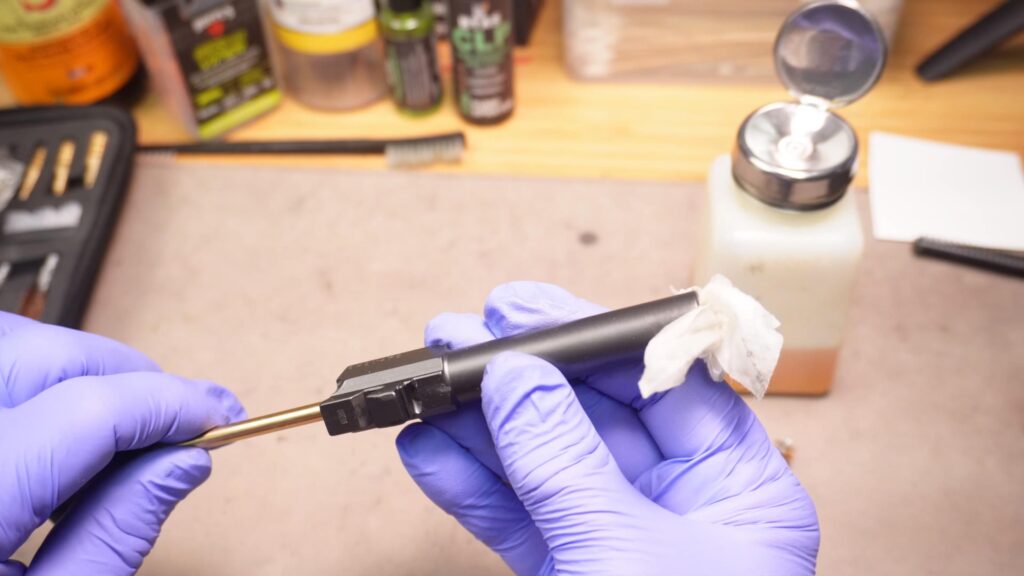
For the bore, use a cleaner intended for firearms and a 9mm bore-cleaning tool. A BoreSnake is particularly convenient for routine maintenance because it can remove loose residue quickly. For heavier fouling, use the cleaning method recommended by the manufacturer until the bore is clean and unobstructed.
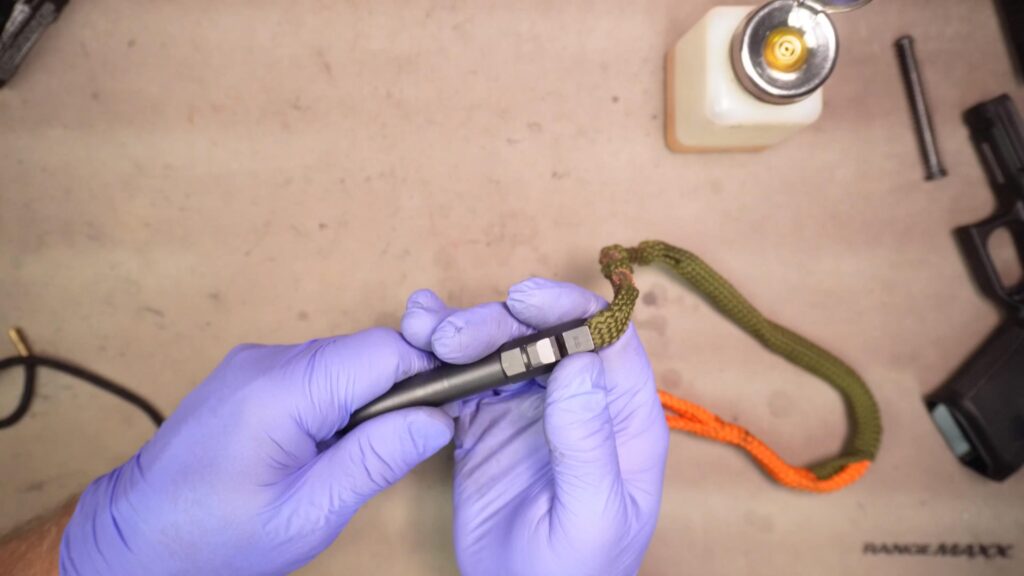
After cleaning, inspect the bore under good light. You are looking for a clear, unobstructed bore and normal rifling surfaces. Wipe away excess cleaner rather than leaving the barrel saturated.
Step 4: Clean the Glock 19 Gen 6 Slide
The inside of the slide collects carbon, unburned powder, lint, and other debris.
A nylon brush loosens residue without being overly aggressive.
This is Glock 19 Gen 6 Cleaning guidance for the slide.
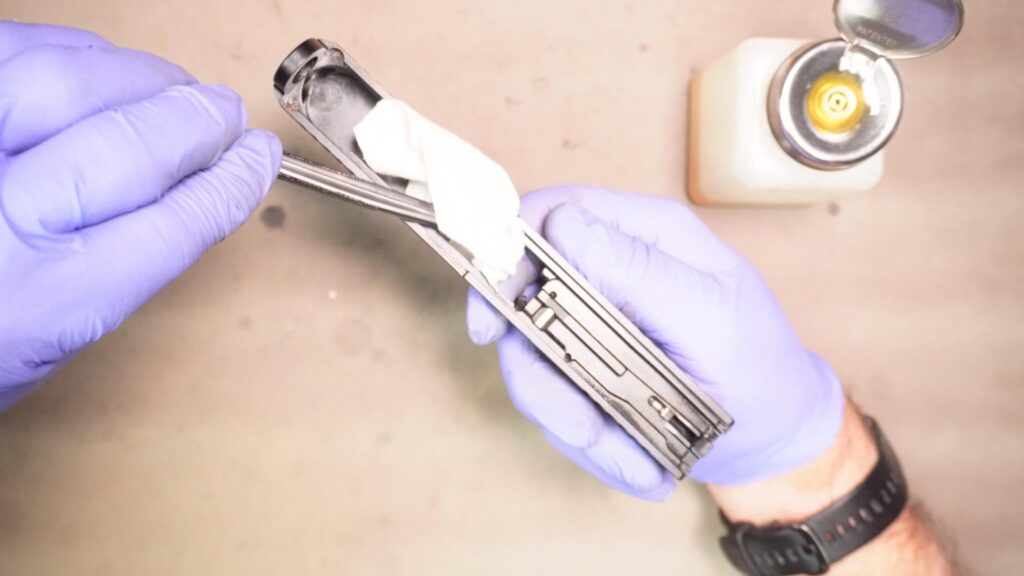
Pay attention to the breech face, slide rails, and the areas around the barrel opening and extractor. These are common places for residue to accumulate. At the same time, avoid flooding the firing-pin or striker channel with solvent or lubricant. Excess liquid in areas intended to remain relatively dry can attract contamination.
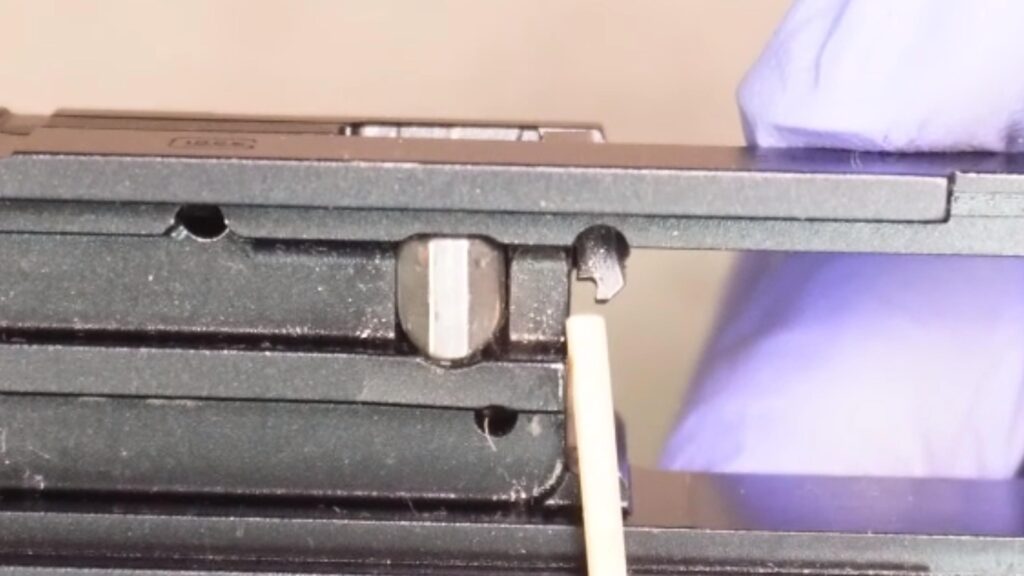
Step 5: Clean the Frame
With the slide removed, wipe residue from the accessible portions of the frame. The frame rails are important contact surfaces and should be clean before lubrication. A nylon brush and swabs are useful for getting into corners where powder residue tends to collect.
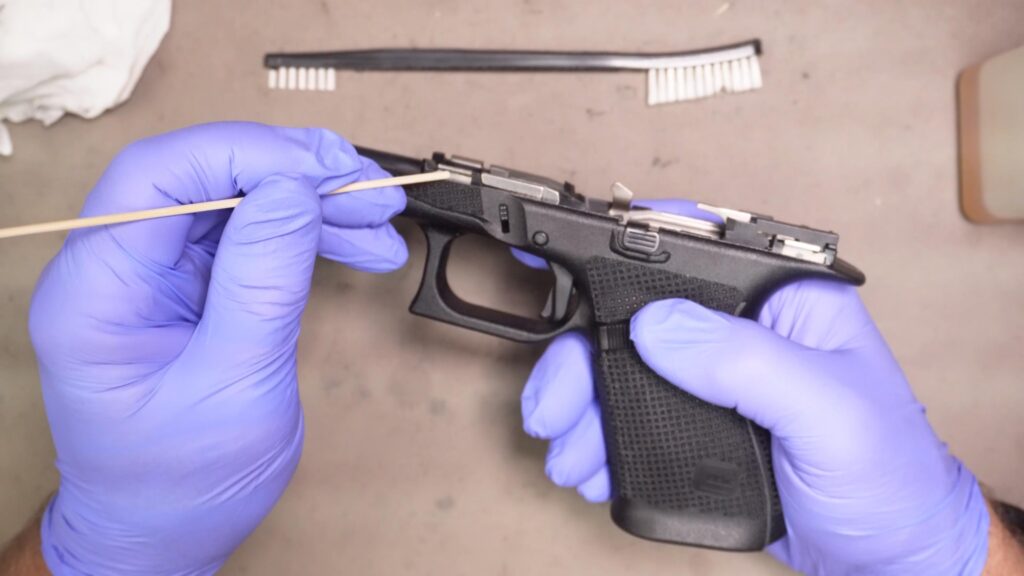
Routine cleaning should be gentle. There is no need to scrape aggressively at polymer surfaces or disassemble the internal fire-control components just to perform ordinary maintenance.
Step 6: Clean the Recoil Spring Assembly
The recoil spring assembly normally needs less attention than the barrel and slide. Wipe off visible residue with a clean cloth and inspect the assembly for anything unusual.
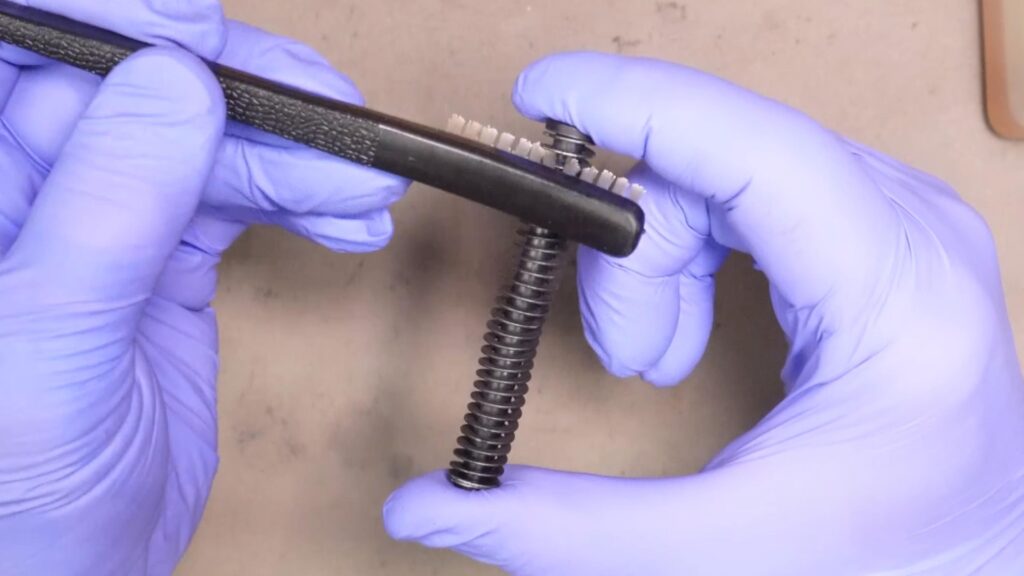
Unless the Glock manual specifies otherwise, avoid soaking the recoil spring assembly in oil. The objective is a clean component, not one dripping with lubricant.
Step 7: Lubricate the Glock 19 Gen 6
One of the most common maintenance mistakes is using too much oil. Glock pistols require lubrication, but more is not necessarily better. Apply lubricant sparingly at the lubrication points specified in the Glock owner’s manual for the Gen 6 pistol.
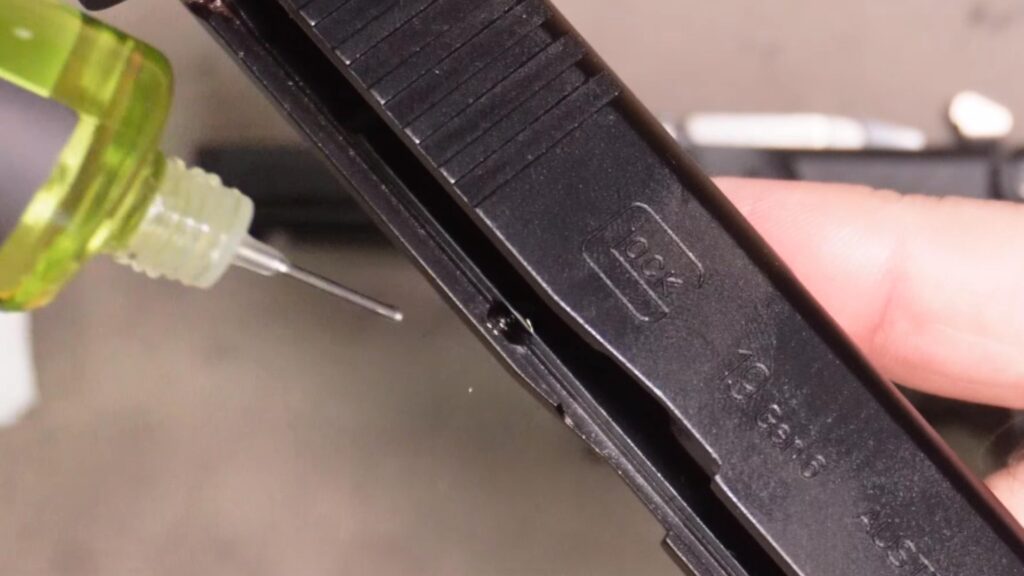
A needle-tip oiler can make this easier because it allows precise placement of very small amounts. The goal is to reduce friction at the appropriate contact points without leaving pools of oil inside the firearm. Excess lubricant can migrate, collect dirt, and make later cleaning more difficult.
Because Glock designs can change between generations, use the Gen 6 manual as the final authority for lubrication locations and quantities rather than assuming every detail is identical to an earlier-generation Glock 19.
Step 8: Reassemble the Glock 19 Gen 6
Once the major components are clean and correctly lubricated, reinstall the barrel and recoil spring assembly in the slide according to Glock’s instructions. Make sure the recoil spring assembly is seated correctly before reinstalling the slide onto the frame.
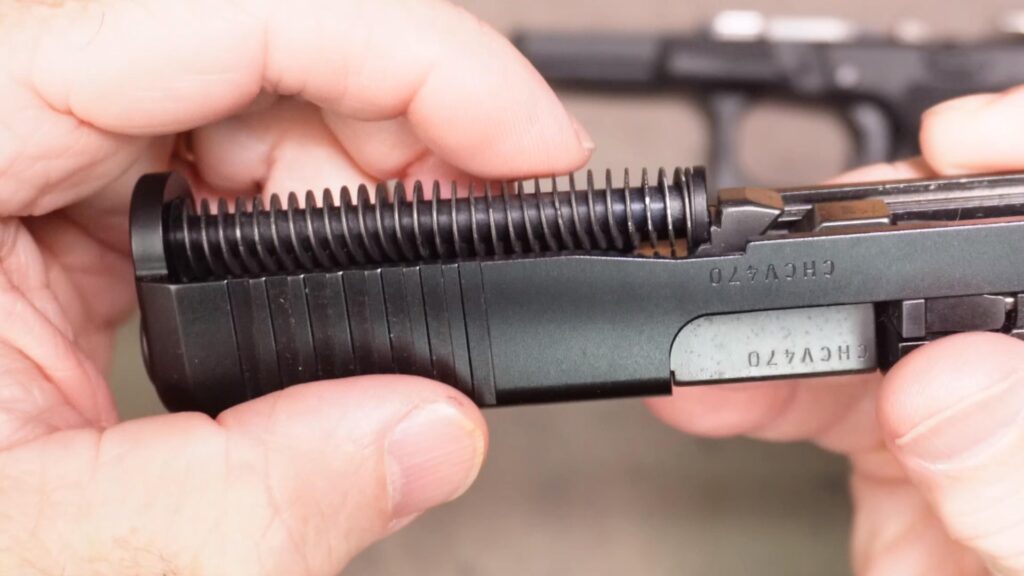
After the slide is back on the frame, cycle it normally while keeping the pistol unloaded and pointed in a safe direction. The slide should move smoothly without binding or anything feeling noticeably different from normal operation.
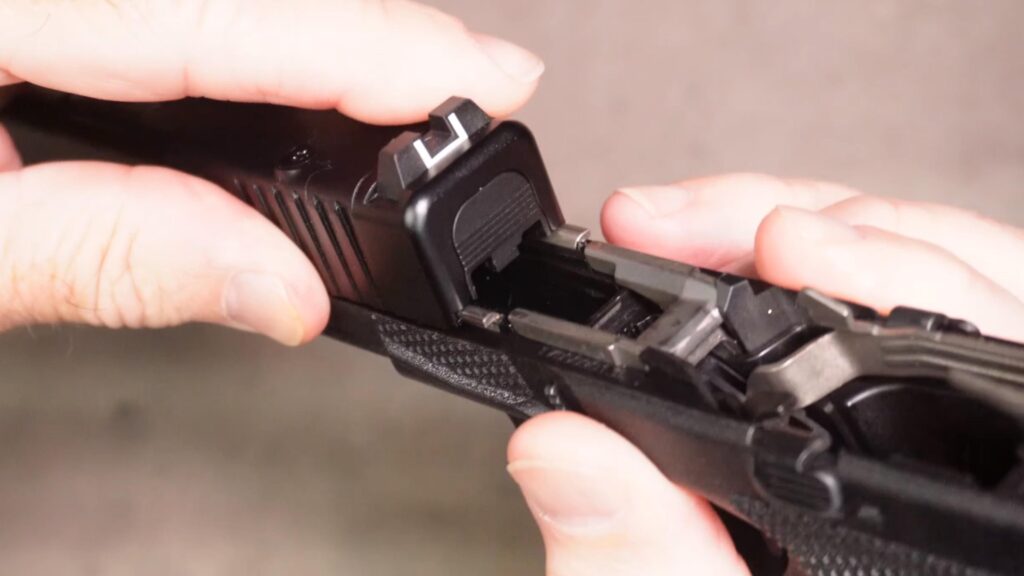
Step 9: Perform an Unloaded Function and Safety Check
Cleaning is not finished simply because the pistol has been reassembled. Before returning the firearm to service, keep it completely unloaded and perform the manufacturer-recommended function and safety verification checks. This helps confirm that the pistol was reassembled correctly and that its controls are behaving normally.

If anything feels unusual, stop and investigate rather than loading the pistol. Recheck the assembly against the Glock manual or have the firearm inspected by a qualified professional if you are unsure.
I also have a dedicated video showing Glock function and safety verification:
Watch the Glock Function & Safety Check Video
How Often Should You Clean a Glock 19 Gen 6?
There is no single cleaning interval that fits every owner. How often you clean depends on how much the pistol is fired, the environment in which it is carried or stored, and the ammunition used. A pistol exposed to sweat, dust, rain, lint, or heavy range use may need attention sooner than one that remains clean and dry in storage.
A practical approach is to inspect the Glock regularly and clean it whenever fouling, debris, or environmental exposure warrants it. Periodic maintenance also gives you an opportunity to notice unusual wear or damaged components.
Related Glock Cleaning and Maintenance Guides
If you want to compare the Gen 6 procedure with earlier Glock models, see my Glock 17 and Glock 19 cleaning guide. For a quick field-strip-only tutorial, see How to Field Strip a Glock 19 for Cleaning. I also have a separate Glock lubrication guide.
Glock Holsters and Accessories
If you are looking for Glock holsters or related gear, these affiliate offers may also be useful:
- CrossBreed Holsters Deals
- American-Made Glock Holsters at We The People Holsters
- Best-Selling Gun Holsters
Final Thoughts
A complete Glock 19 Gen 6 cleaning is a manageable maintenance job when approached methodically.
Begin with a verified unloaded firearm.
Field strip only as far as necessary, then clean the barrel, slide, frame, and recoil spring assembly.
Lubricate sparingly according to Glock’s current instructions.
Finish by reassembling the pistol and completing the unloaded function and safety checks.
The video at the top of this guide provides the visual walkthrough. If you are new to the Glock 19 Gen 6, keep the owner’s manual nearby and use it as the primary reference whenever a procedure or lubrication point differs from earlier Glock generations.
