If you own a Glock 45 GEN 6, this guide covers basic maintenance. Understanding how to perform a Glock 45 field strip (disassemble and reassemble) the pistol is essential.
In the video below, I walk through the basic disassembly. Then I cover reassembly step by step.
Before You Begin
Always follow the manufacturer’s safety instructions.
Before beginning routine disassembly, follow the Glock 45 GEN 6 Field Strip safety steps.
Keep the pistol pointed in a safe direction, remove the magazine, and verify the firearm is unloaded.
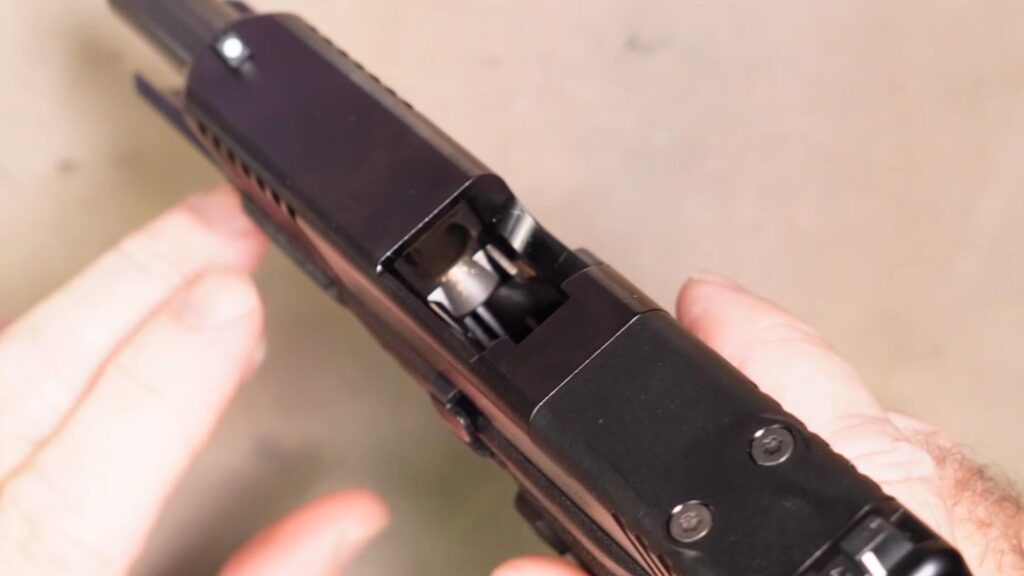
Also, keep live ammunition away from the work area.
Glock 45 Gen 6 Field Stripping
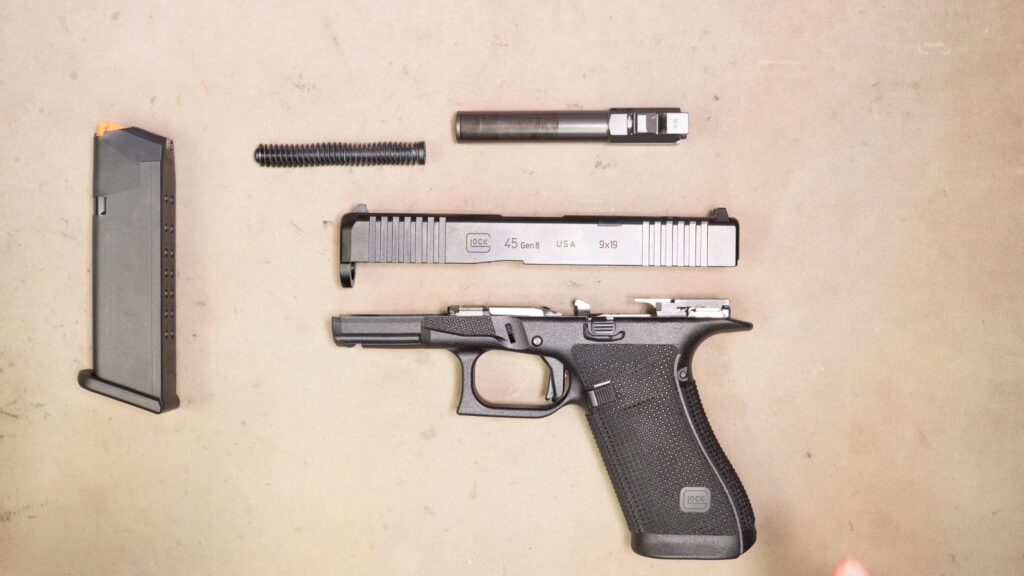
The Glock 45 is designed so its major components can be separated for normal cleaning. This Glock 45 GEN 6 Field Strip demonstrates how the major assemblies come apart and fit together.
Major Components
- Frame assembly
- Slide assembly
- Barrel
- Recoil spring assembly
- Magazine
Why Field Strip Your Glock?
Routine field stripping gives you access to the major areas that need cleaning and lubrication. It also gives you an opportunity to visually inspect the pistol for unusual wear, excessive fouling, or damaged components before returning it to service.
Reassembling the Glock 45 Gen 6
Reassembly is essentially the reverse of the field-strip process. Pay attention to the correct seating and orientation of the barrel and recoil spring assembly before reinstalling the slide onto the frame. After reassembly, follow Glock’s recommended function-check and safety procedures before using the pistol.
Watch the Full Video
The easiest way to understand the process is to watch it performed. The video above shows the Glock 45 Gen 6 disassembly and reassembly procedure so you can follow along at your own pace.
Important: This article and video are intended for general informational purposes. Always consult the owner’s manual for your specific firearm and follow the manufacturer’s instructions and safety procedures.
Related Videos:
Glock GEN 6 Magazine Release Swap for Left-Handed Shooters
Glock Gen 6 Slide Disassembly & Cleaning
